It has taken me some time to build up the courage to start to write about the soda firings I have been doing at Clay College in the small test kiln (the descendant of little wobbler, a combination cross draught – downdraught design with one burner). It is hard to say why I have taken a while to begin – but it is this project that has taken up most of my time over the last 7 months or so, and somehow writing about it feels a little final so maybe that’s why I have taken my time…. I am going to write about each step in greater detail over time, updating this page as I do so with links to the relevant sections, but here is the overview of the story of obsession frustration and learning.
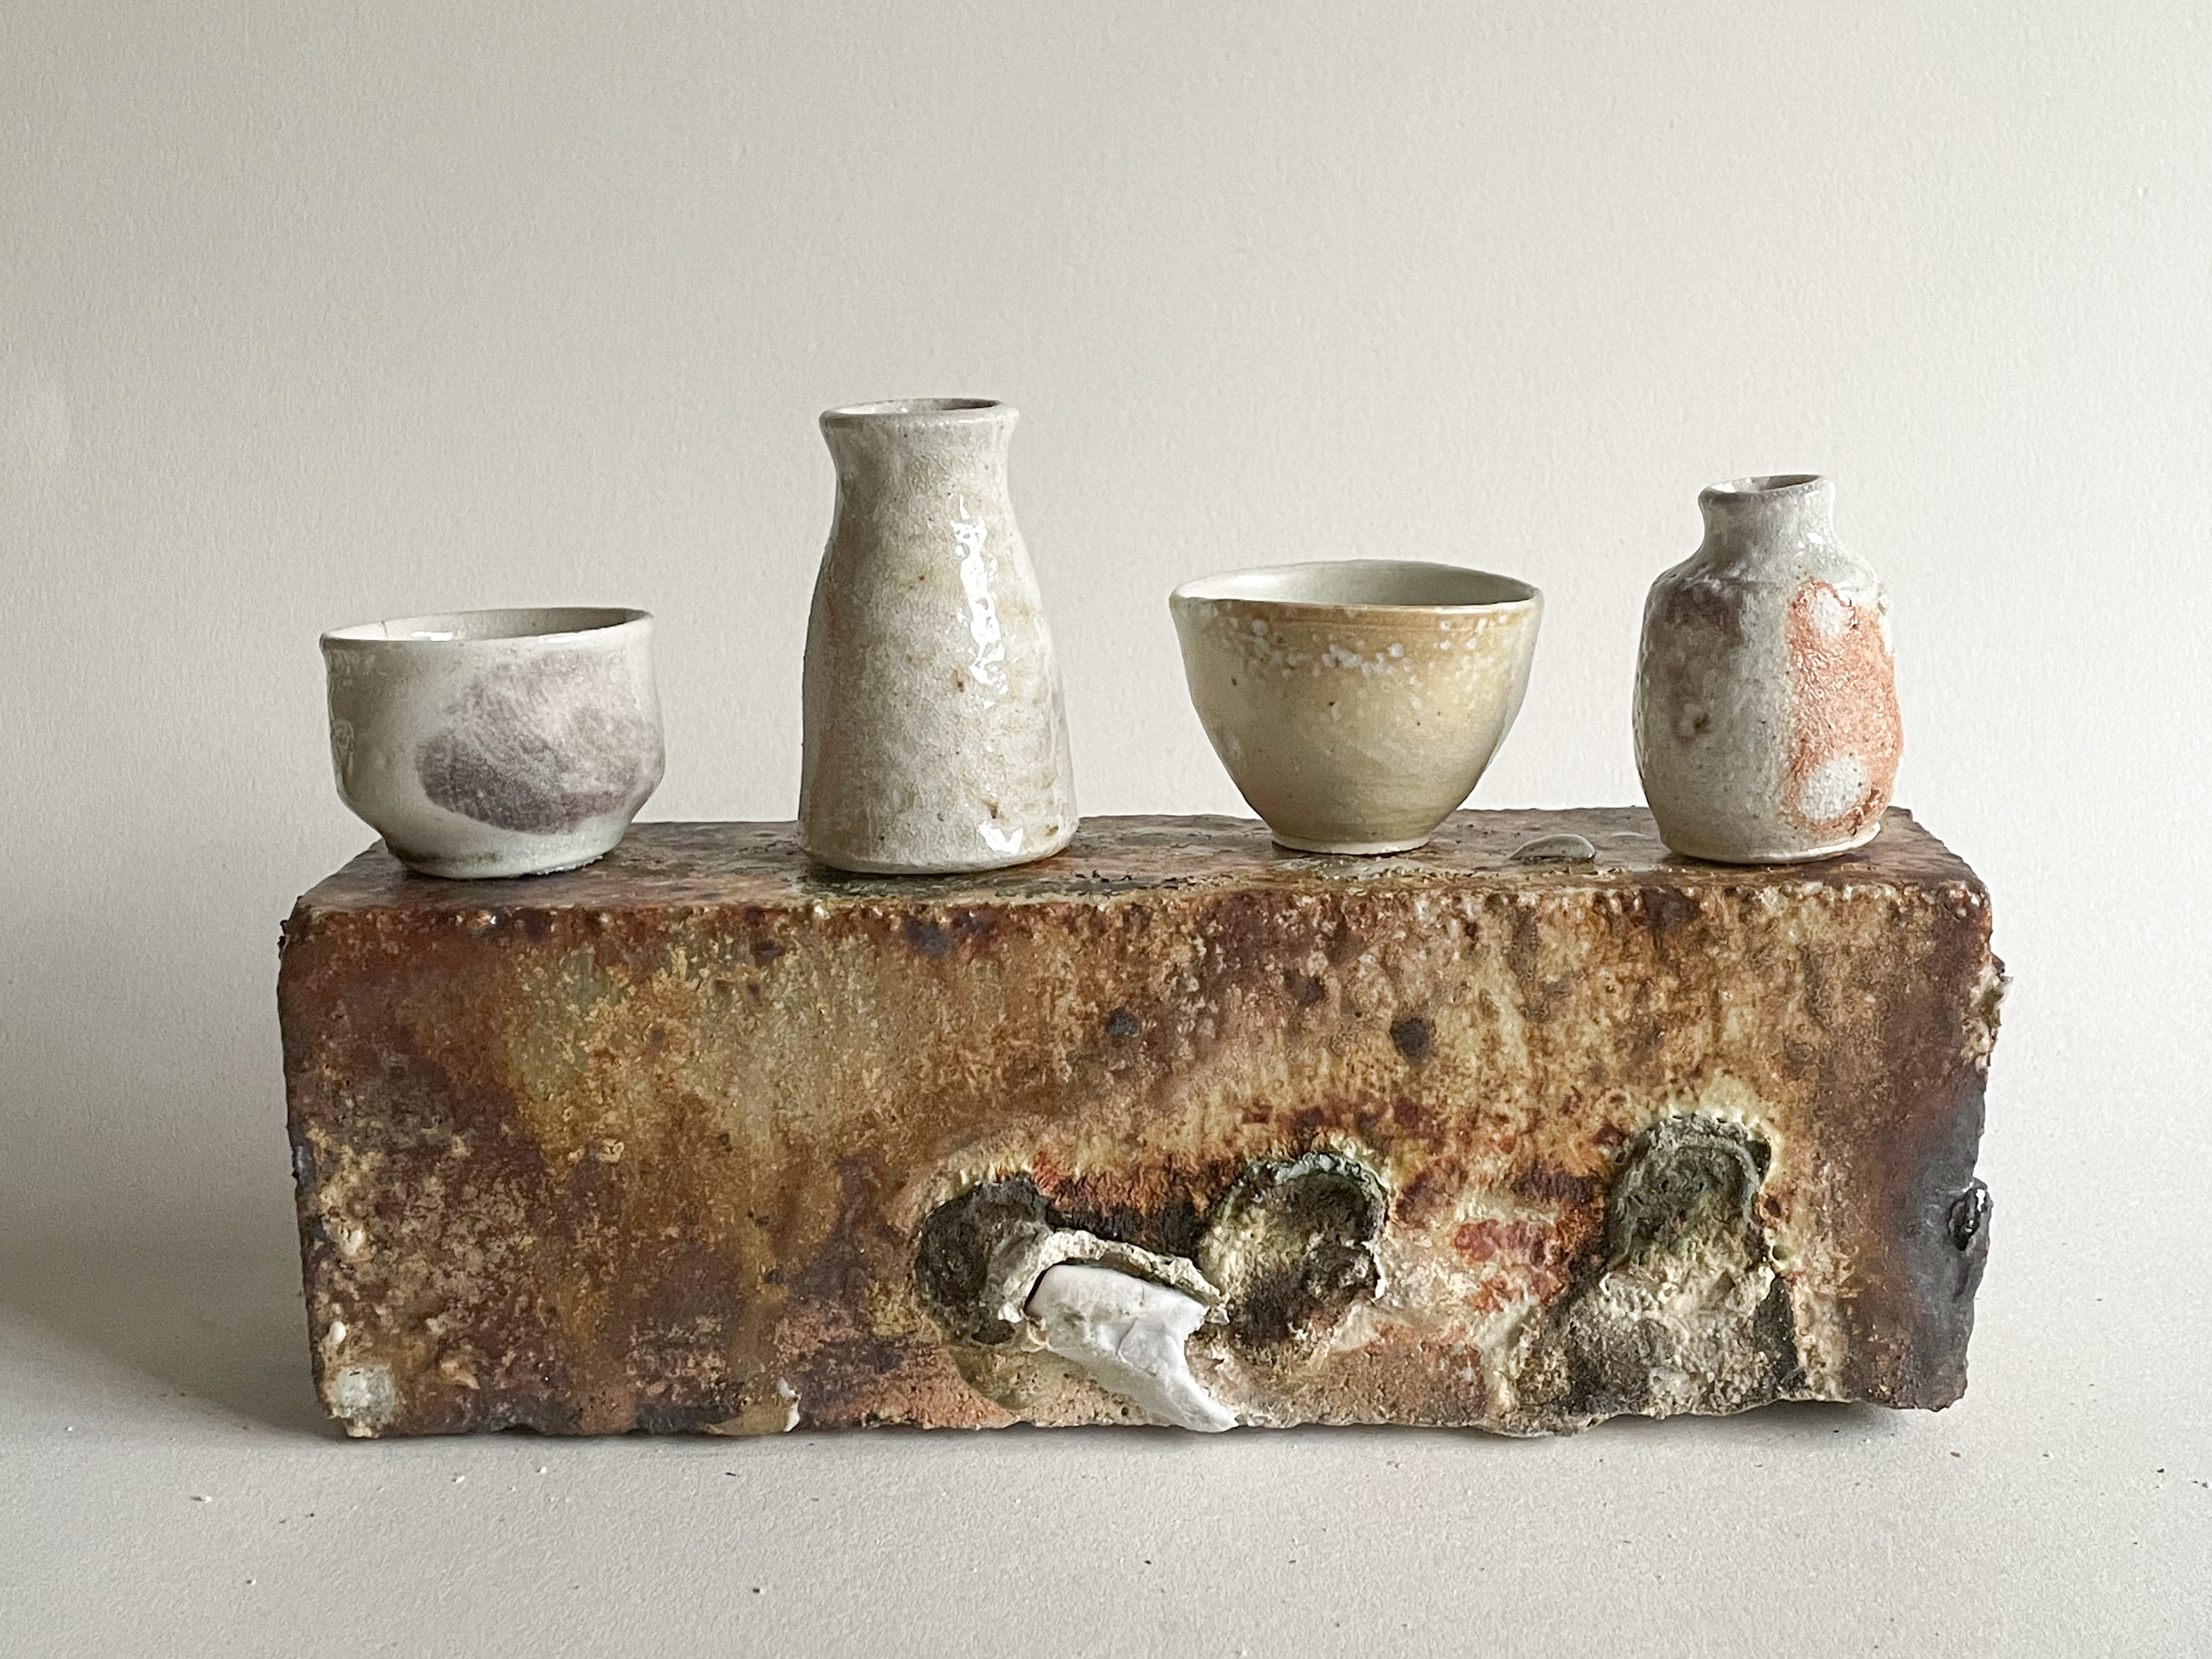
Tracing the exact starting point of this period is quite tricky, at least a couple of events in the prelude are worth mentioning. At the tail end of the first year at Clay College (summer 2023) we started doing soda firings in a large, natural gas brick kiln we built as a group under the direction of Kevin Millward. Soda firing is a form of vapour glazing. In a soda firing you put bicarbonate of soda or soda ash in to the kiln at very high temperatures. The sodium volatilises and is immensely unstable and so is “searching” for something to hang on to so to speak. The body of the clay surfaces has the building blocks of stability and so it bonds with the alumina and silica and forms a glass of very simple composition.
In the first few soda firings I was looking at flashing slips and was not so interested in glass. However the results from that kiln looked somehow crass and glitzy and not to my taste at all, which meant I thought soda firing was probably not for me.
Then I came across the work of Gail Nichols, also soda fired, and yet unrecognisable when compared to anything that was coming out of the college kiln. In our firings we had been delivering the soda in liquid form using a weed sprayer, but after searching some articles online I found that Gail delivered the soda in solid form, not dissolved in liquid. A small test kiln happened to be built at college as part of a firing course for the general public and so a perfect opportunity to try the solid method of delivery presented itself, and this we did in the summer of 2023. The results were much better than the sprayed soda kiln but were still not that interesting, and so with college then getting back to the usual routine of projects, soda firing was forgotten about for a little while.
Flash forward to Christmas 2023 and we were just finishing up on a porcelain project. The first term back in the new year was an experimental firing and review course, and we had the winter holiday to decide what we would propose to do in that project. By that time little wobbler had been built and we had fired it a bunch of times and had loads of fun (even in the freeeeeezing cold). I sort of thought that for me in that project I had better focus on form development rather than firings or glazing as I had already spent quite a lot of time on those areas. But then I changed my mind. My parents got me for Christmas Gail Nichols’ book Soda, Clay and Fire. The phrase seminal moment is overused but it is perfectly apt for what reading that book was for me. She didn’t give you any recipes, or any shortcuts (not really anyway), but rather presented a systematic framework for testing, and all the hints for you to attain something in the realm of the surfaces she has been able to achieve. So I dropped the form plan, and decided to use that experimental firing project to do some more soda firing, only this time I was going to test clay bodies: Clay bodies formulated to respond directly to the soda and form a glaze of great complexity and beauty.
Oh! I almost didn’t mention. Before that point I had one pot out of soda that was very interesting to me. That pot, was made of slip. And what I mean by that is I had developed a slip recipe for wood and soda that was giving me great results. Over a hot weekend the slip dried out in to a plastic clay like sludge, which I decided to firm up on a plaster batt and throw. That pot, in soda, was the most exciting surface I had seen up to that point.
On reading Gail’s book, and understanding a bit better the role of the ratio between silica and alumina in clay body composition when it comes to response to soda, I discovered something surprising. By pure chance that slip that I made in to a pot contained the exact ratio that Gail singled out as being a contributor to her surfaces. This coincidence was all I needed to motivate the doubling down of my time on soda firing, and set me off on the pursuit of controlling the results across different firings.
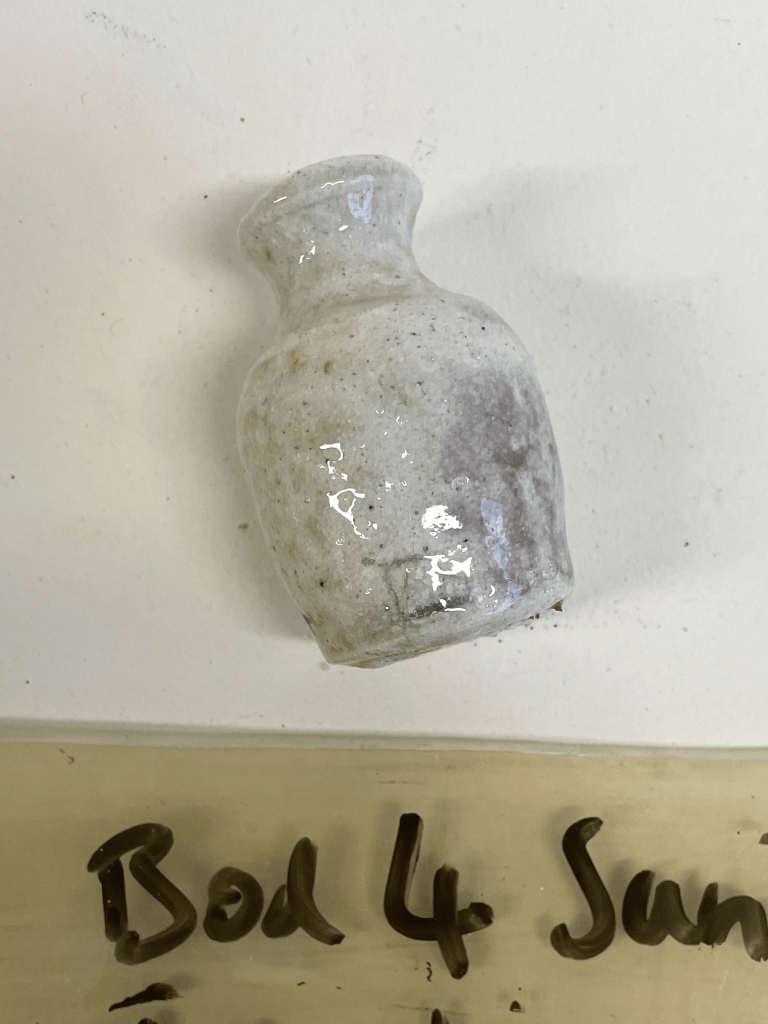
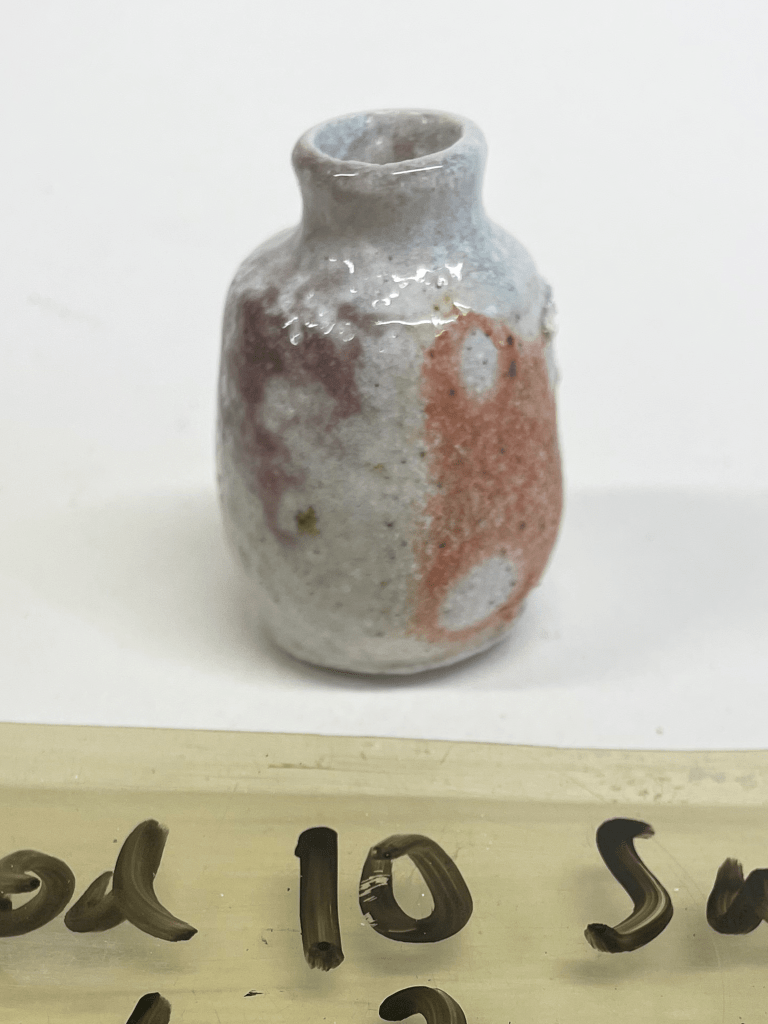
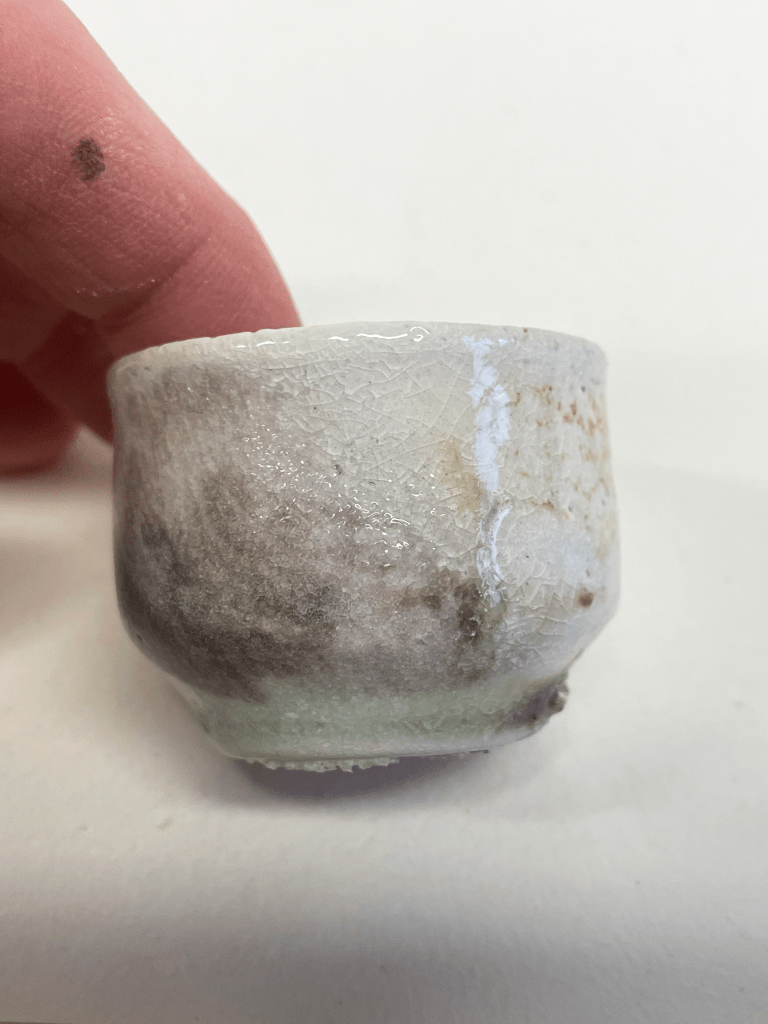
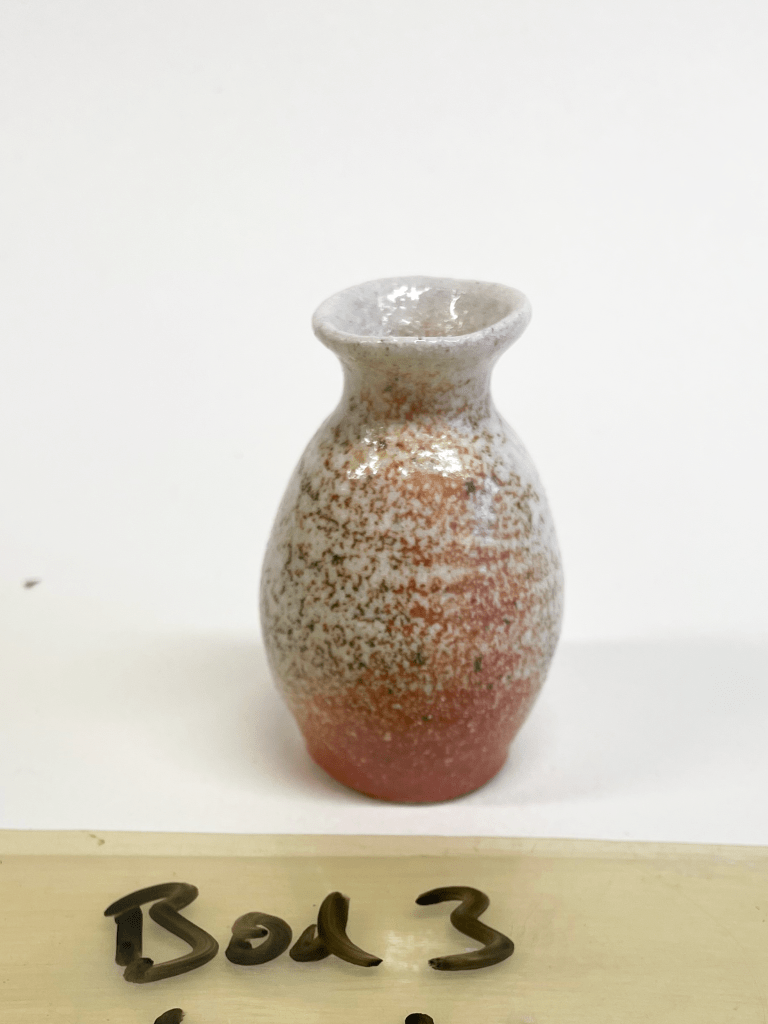
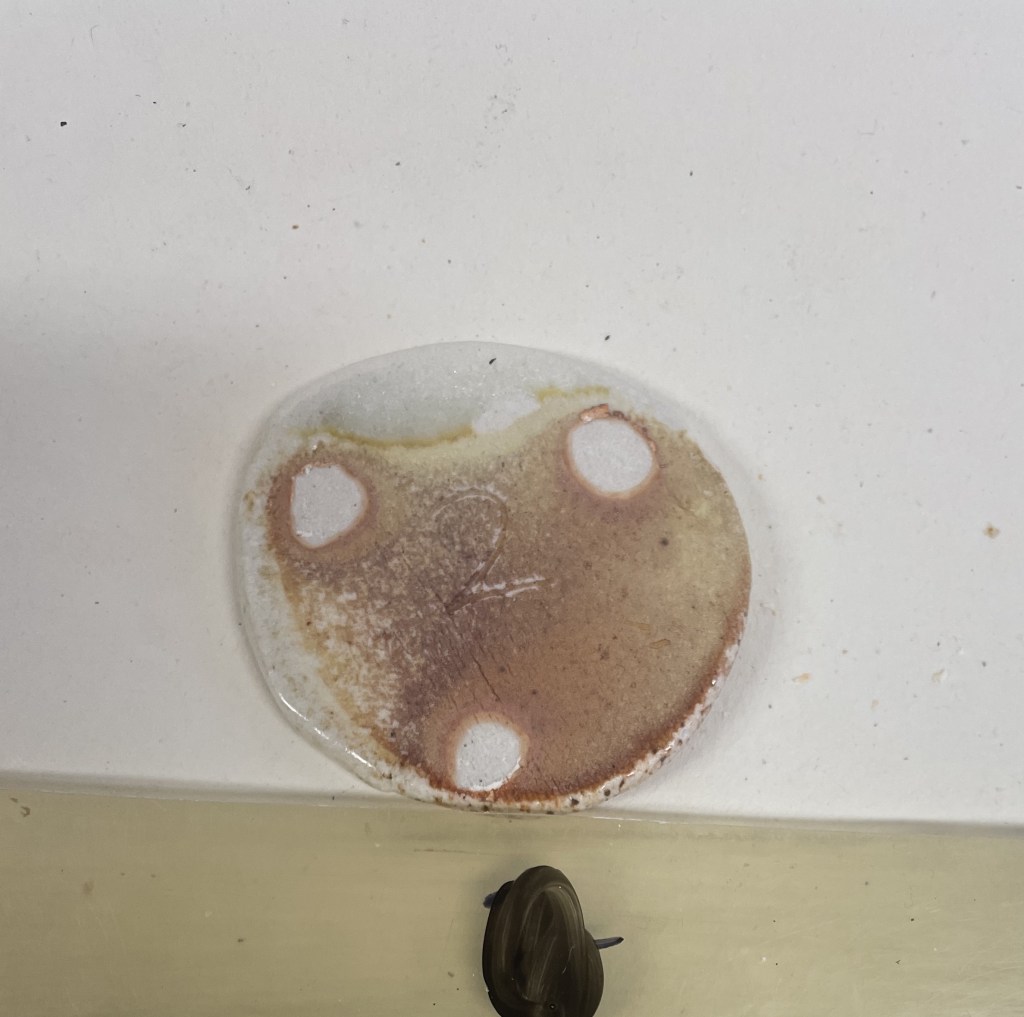
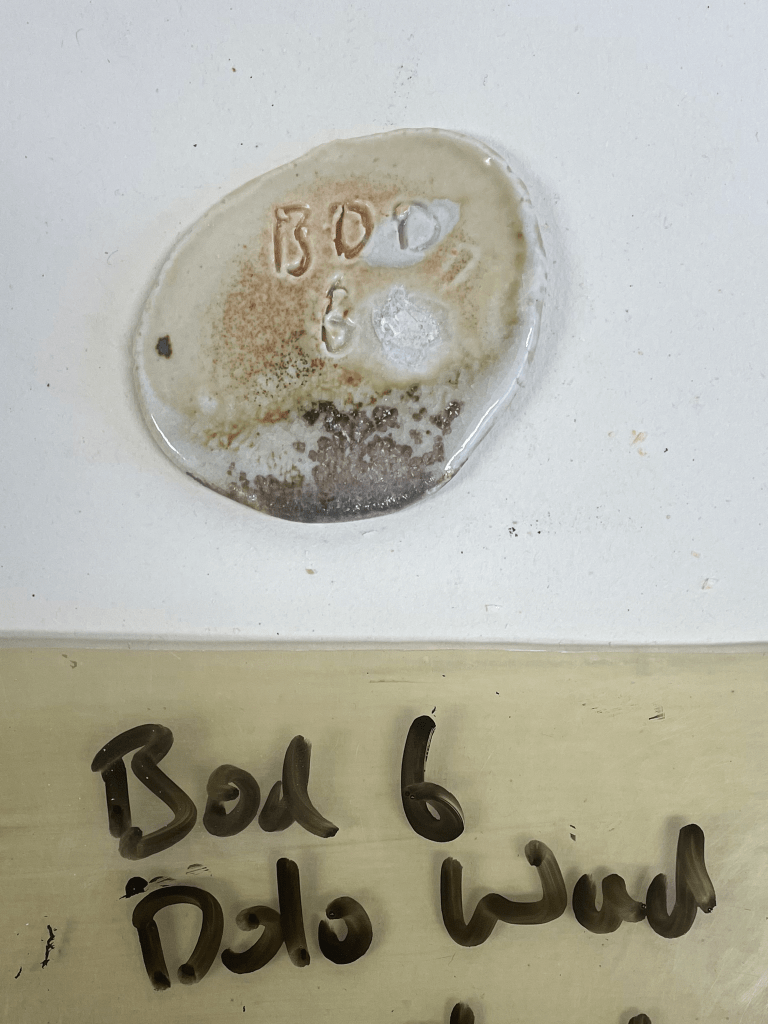
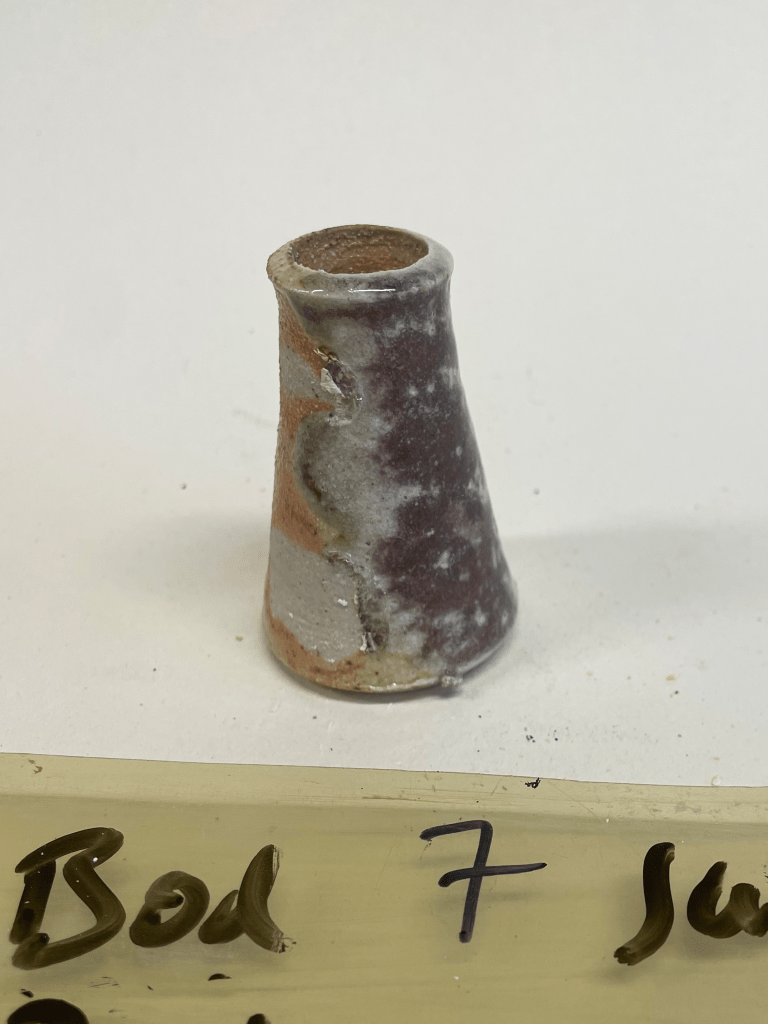
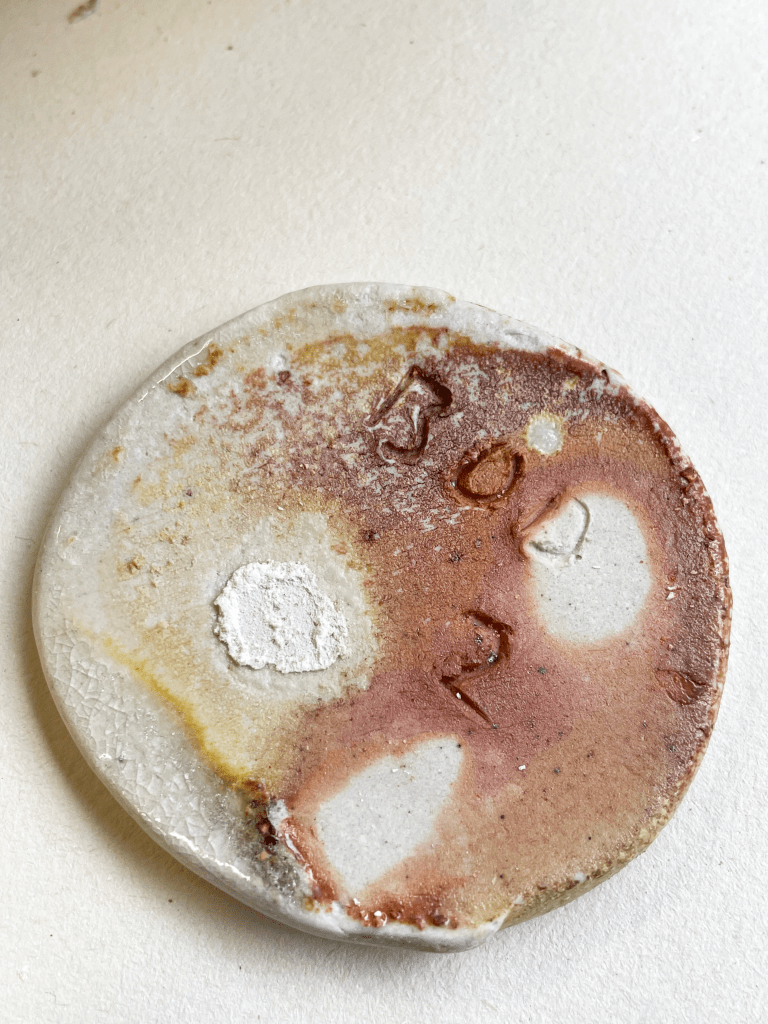
I began with a test firing containing 26 clay bodies that I had mixed up from powdered commercially available materials. In the first batch for the clay component of the bodies I only used various china clays and ball clays. It wasn’t until the second firing that I started to introduce fireclay. This was mainly as I wanted to keep the iron content as low as possible, and the alumina content much higher than a usual clay body. This meant that most of the bodies had a high proportion of china clay and therefore the working quality was not that great. I added bentonite to some of the bodies to increase workability, but even still there were some bodies that were very difficult to throw with. I used Insight Live to ascertain the relevant silica:alumina ratios of each clay body, and made two small pots (one with the addition of 10% course silica sand, one with no additions), a shrinkage bar and a disk out of each. I also used the clay body recipe as a slip on a white stoneware body, to compare the response of the slip compared to the body itself. As a control, I included two known recipes, one from Patrick Sargent and the other from Ben Brierley. These did not have the right silica:alumina ratio, but my thinking was that if either of these two bodies failed it would tell me that I had made a mistake preparing the bodies, and that would help troubleshooting should I open up a kiln full of shards!!!
I fired these clay body tests in the final firing of little wobbler and had the results out the following day. *
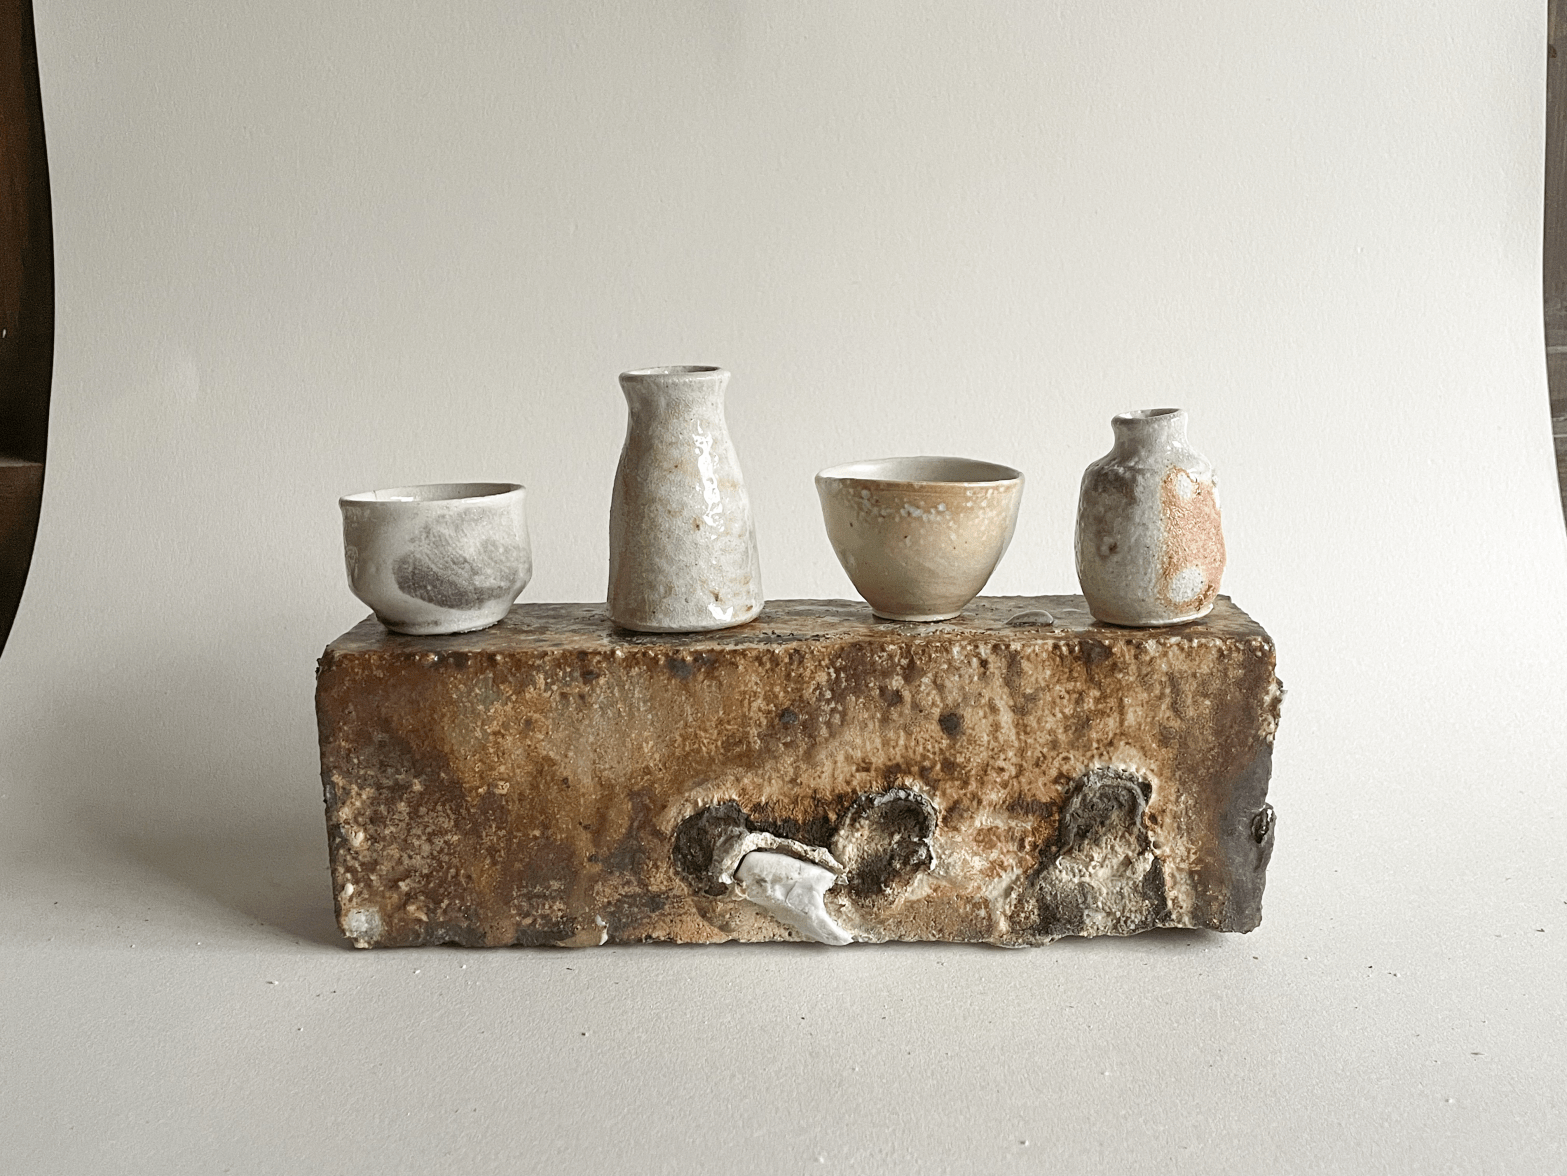
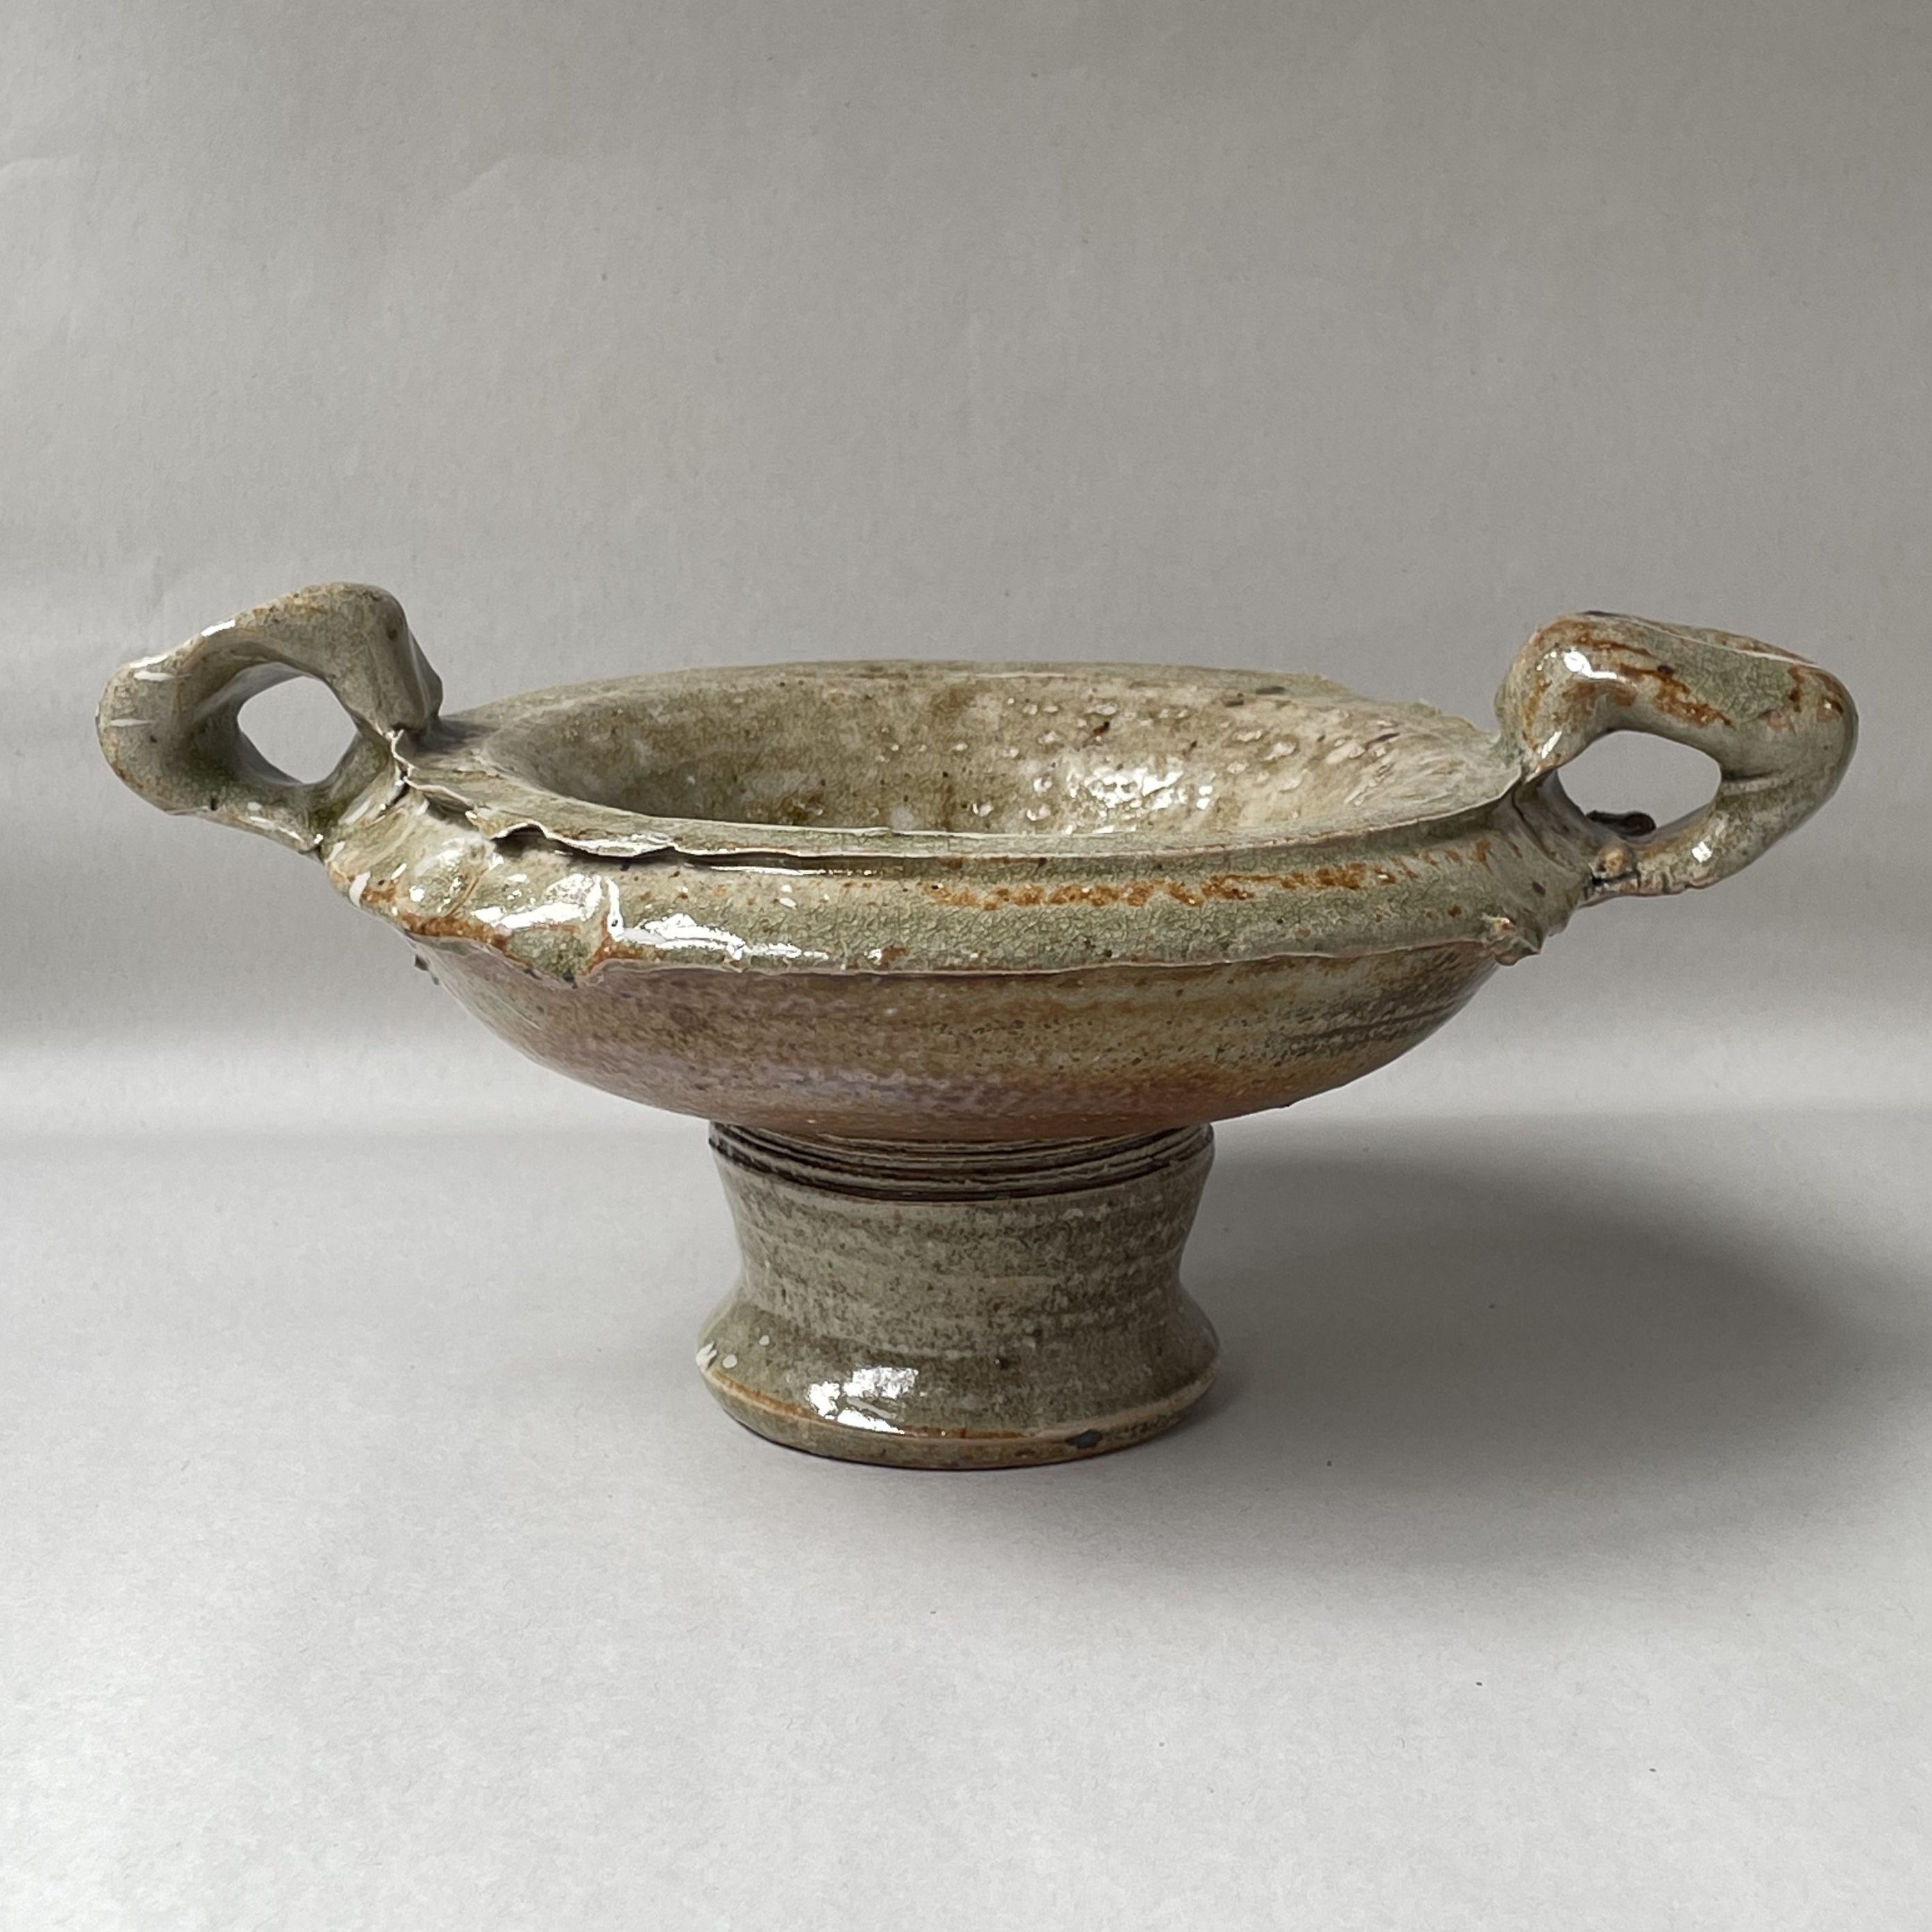
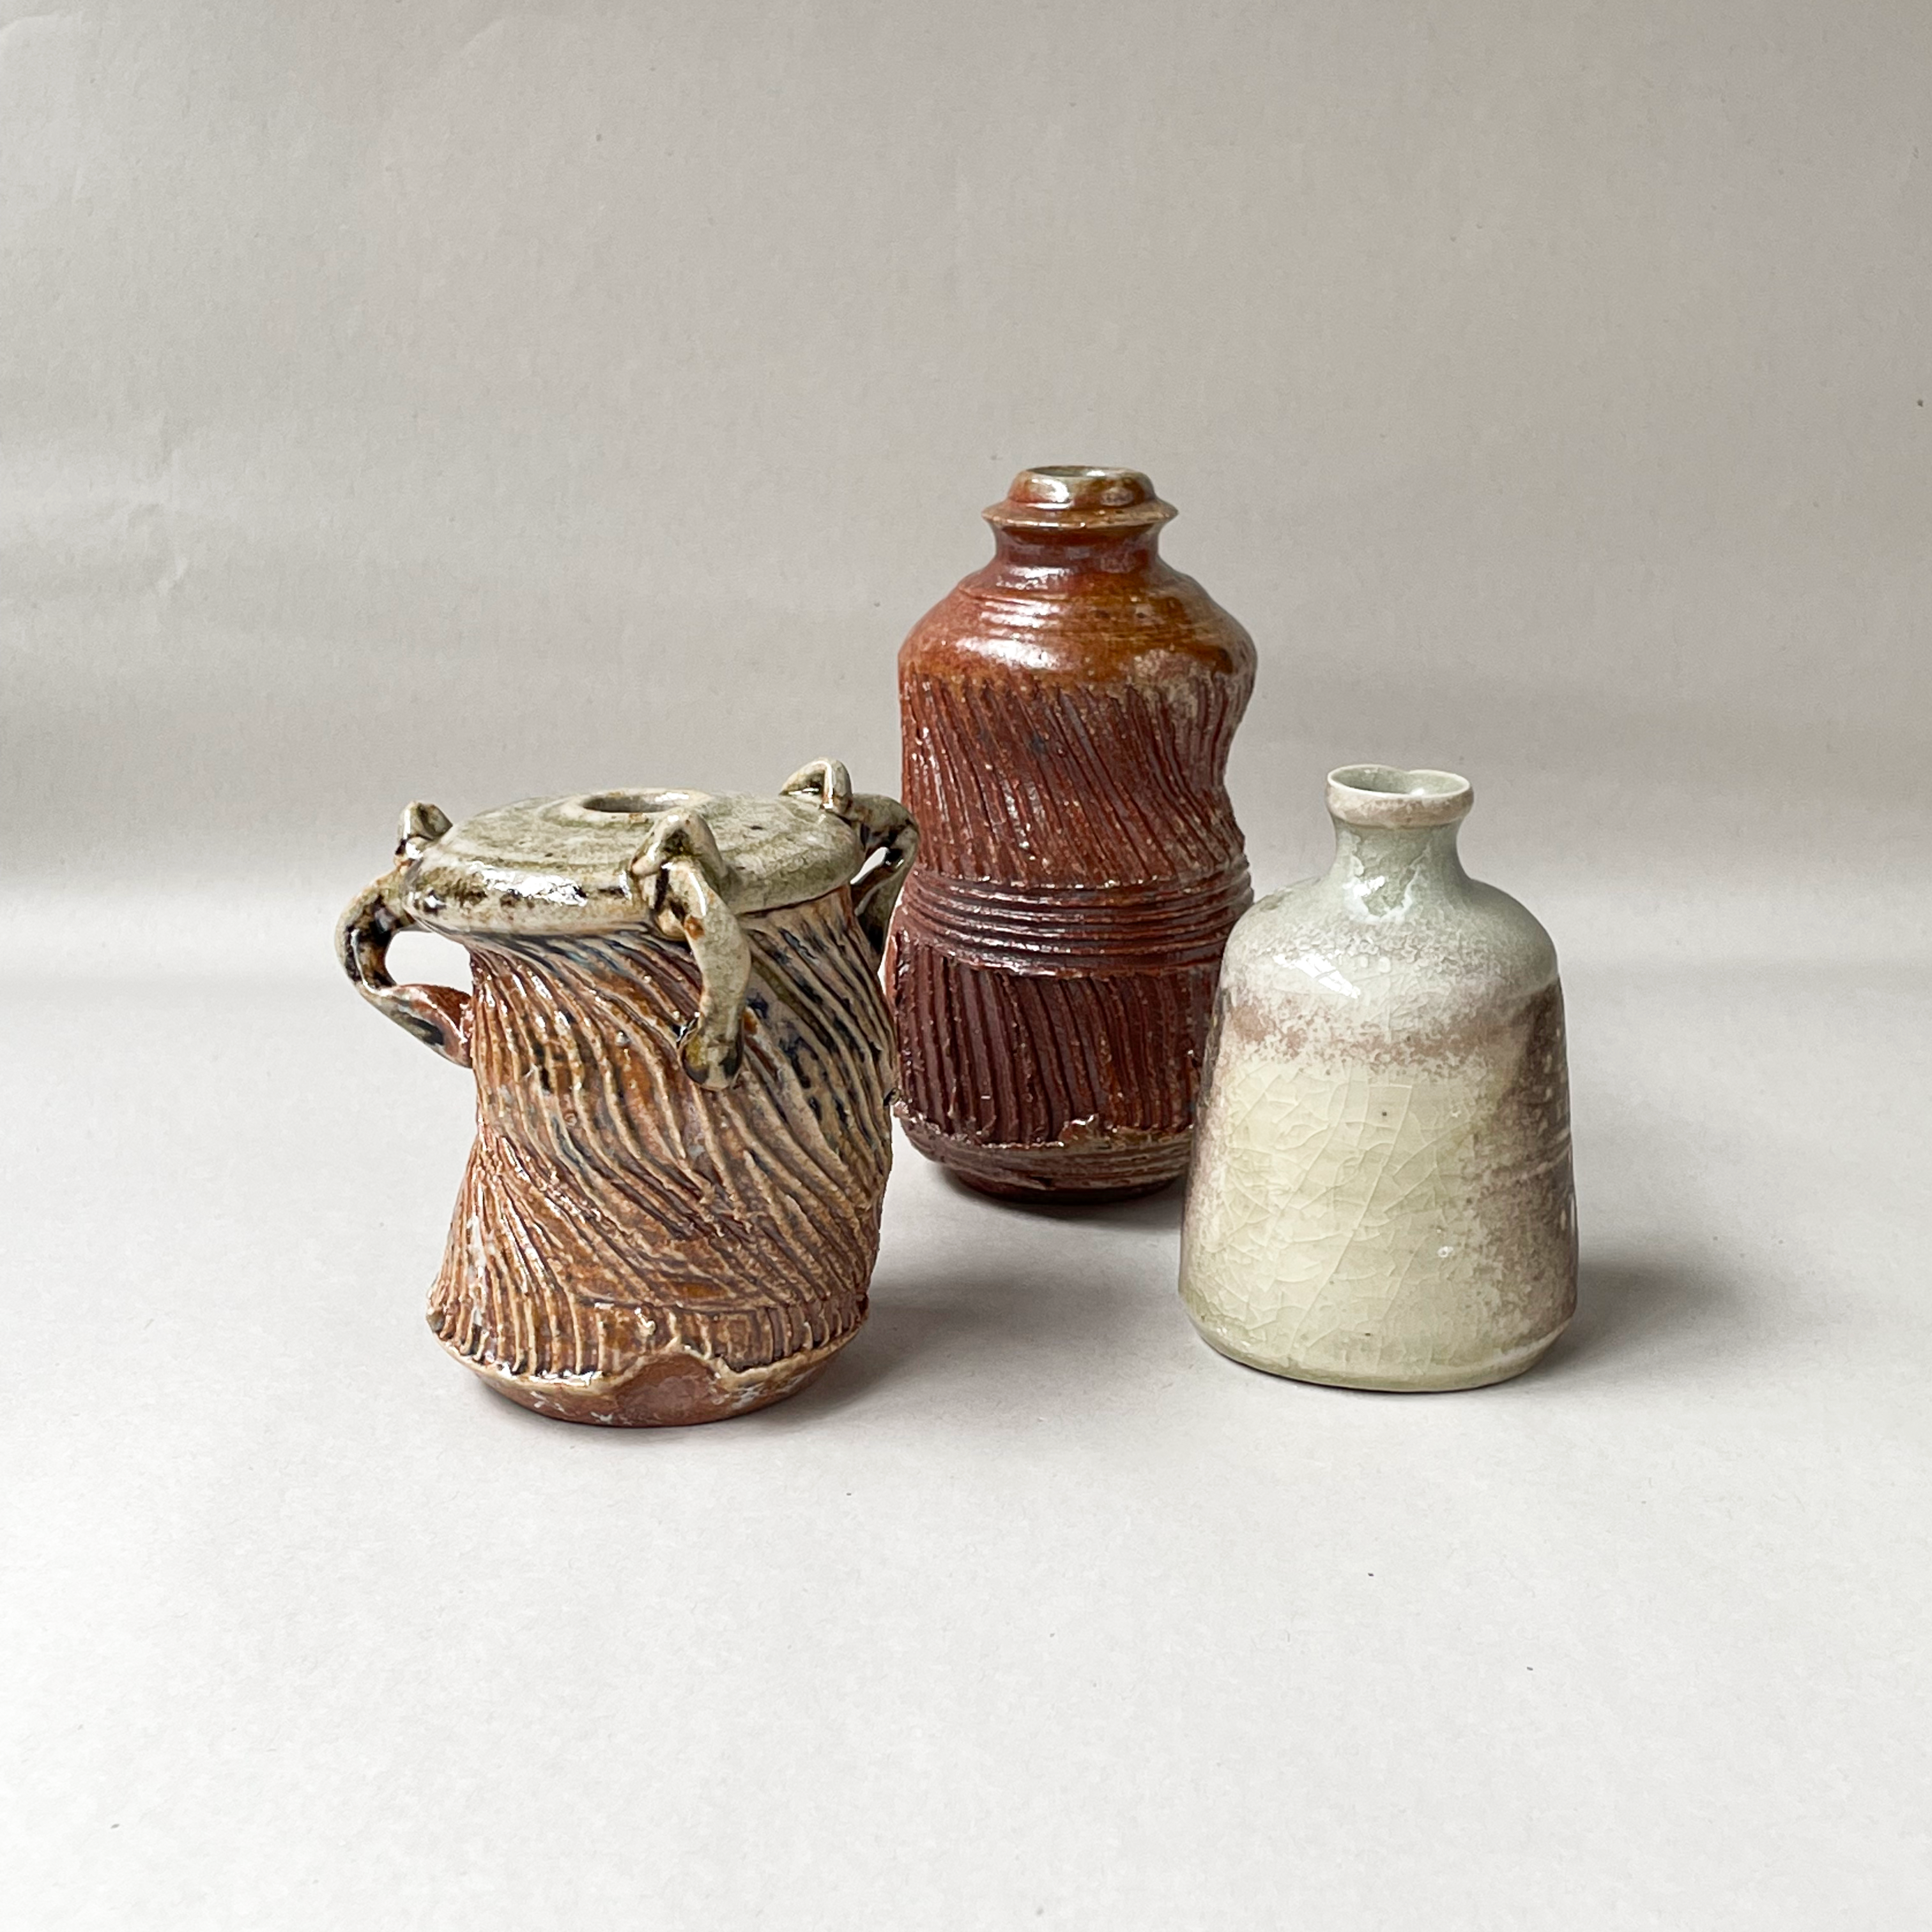
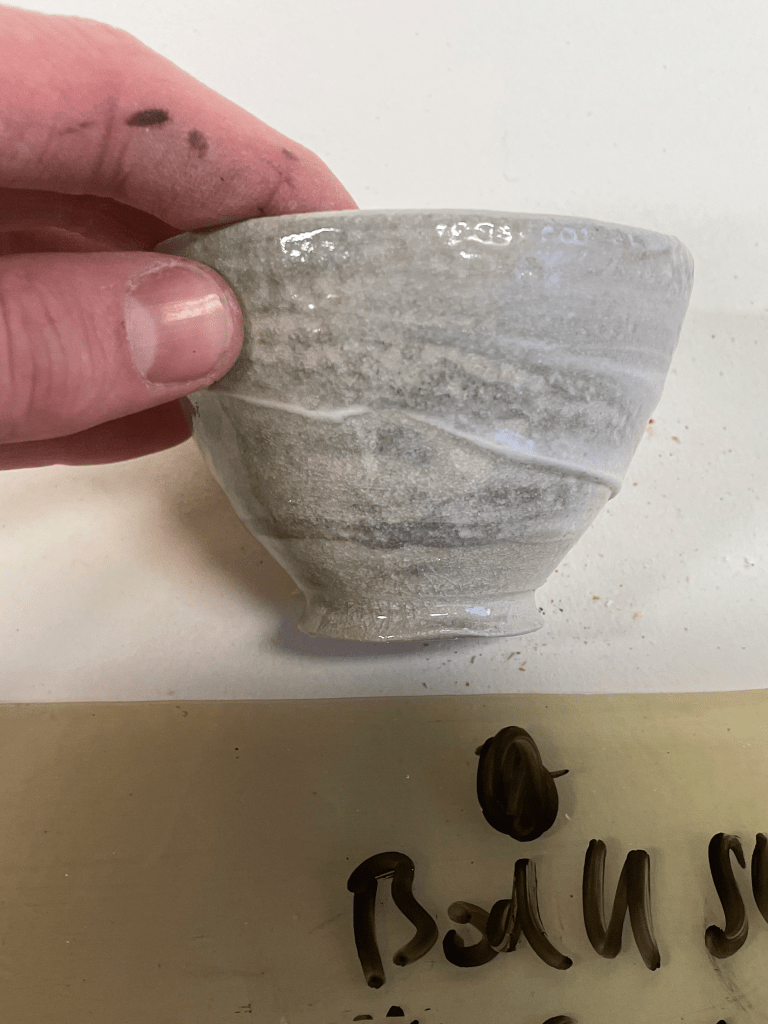
Many of the bodies developed the kind of colour response and glass I am interested in – hot fire colour, contrasted with areas of whitish blue glass. Wow! I am really good at this, I thought to myself. I made the same assertion in my youth once before: my first ever packet of Pokemon cards. I opened it and inside was a shiny Charizard. I am really good at this, I thought to myself. Of course, dumb luck was responsible for both of these successes. In firing 2, having chosen my two favourite bodies from the 26 and then making load of actual pots rather than just test pieces out of them, I had the expectation that I would get a kiln full of the exact surface that I was interested in. I was instead confronted with a Donal Trump orange cacophony of dreadful pots. I will write about the subsequent firings, and the process of working out how to repeat the results I was interested in over the next few posts. Until then, enjoy looking through the first batch of bodies!
*
Note
Without access to testing equipment for things like body strength, it is quite hard to make a judgement on the success of the bodies on anything other than aesthetics. That said, I did do rudimentary porosity and shrinkage testing on each of the bodies and it seems likely that many of them are over-vitrified, more like a porcelain than a stoneware body. Interestingly though, shrinkage was not excessive and my usual liner glaze fit the bodies well – a good sign. I had also tested 4 wadding mixtures, and the bodies with and without silica sand in that firing. It is hard to know how much detail people are interested in reading about but if you would like any more details about how I went about that test feel free to contact me. Likewise if anyone has done some similar research and would like to pool results I would be very enthusiastic to make contact!
