
When I was at Clay College I had costed up the kiln build for little wobbler, and had always imagined that a rebuild of that kiln would be my first soda kiln. The costing was done on the basis of all new refractories, and I started saving up towards that budget as soon as I took on a job after graduating. Once I had saved the money, I decided to make the most of living in Stoke by scouting around for second hand refractories, kiln bricks in particular, to see if I could save a bit of cash. A visit to Grange Aggregates would prove to be a turning point and the moment that set me on the path to constructing the kiln in its current form.
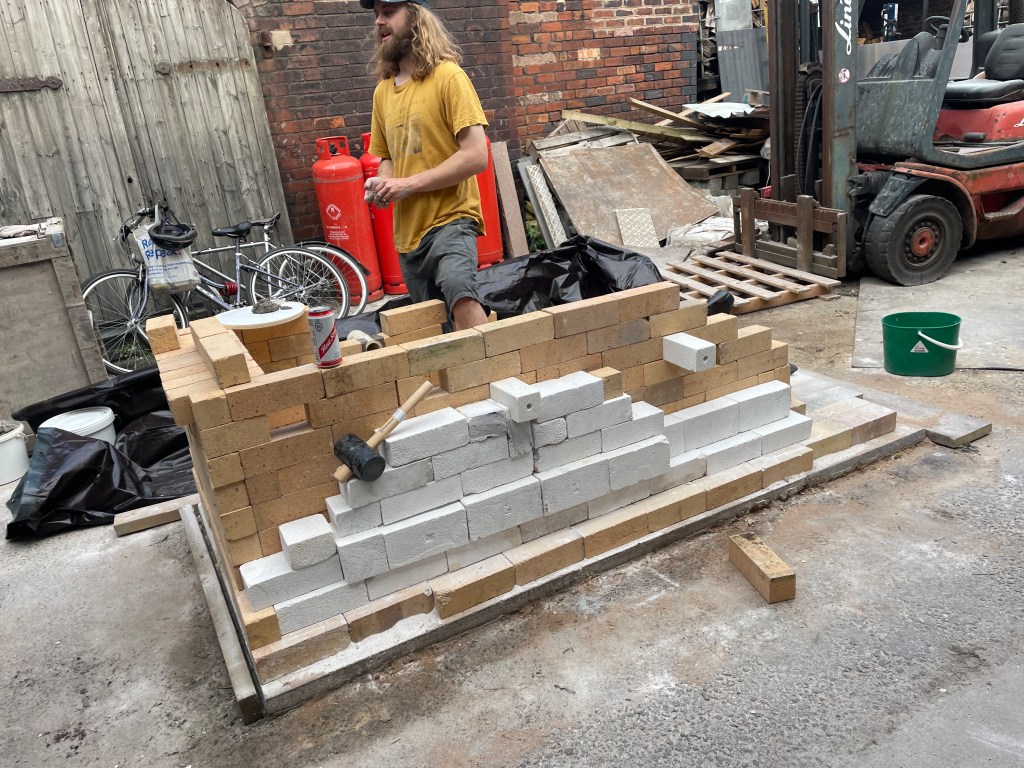
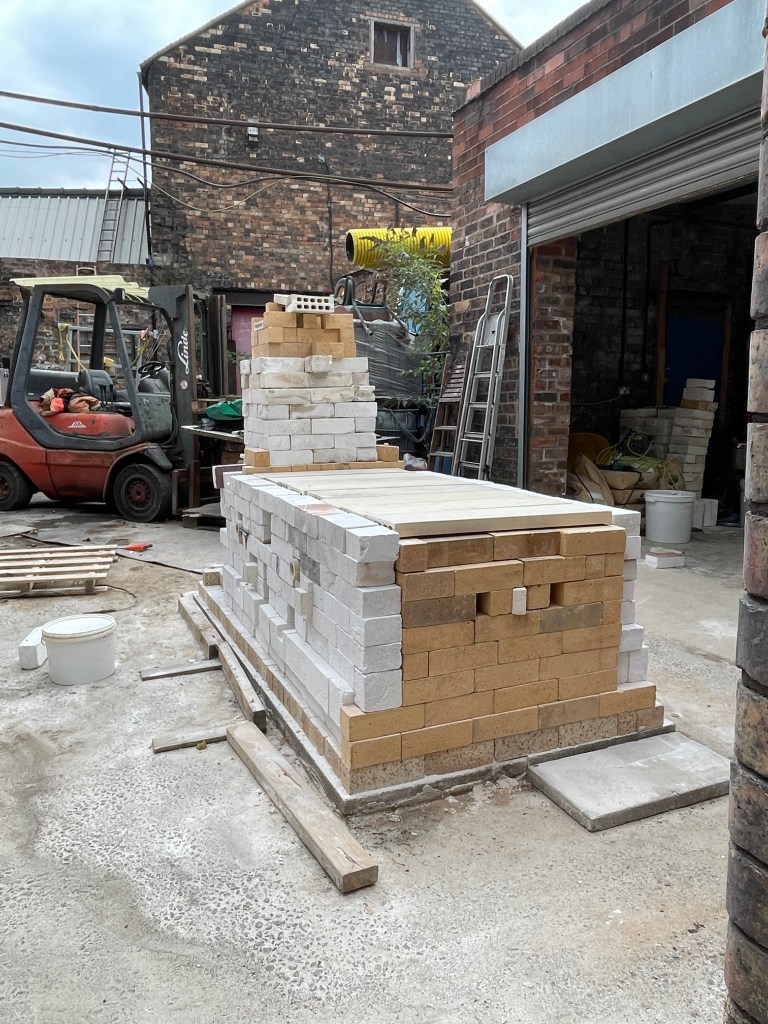
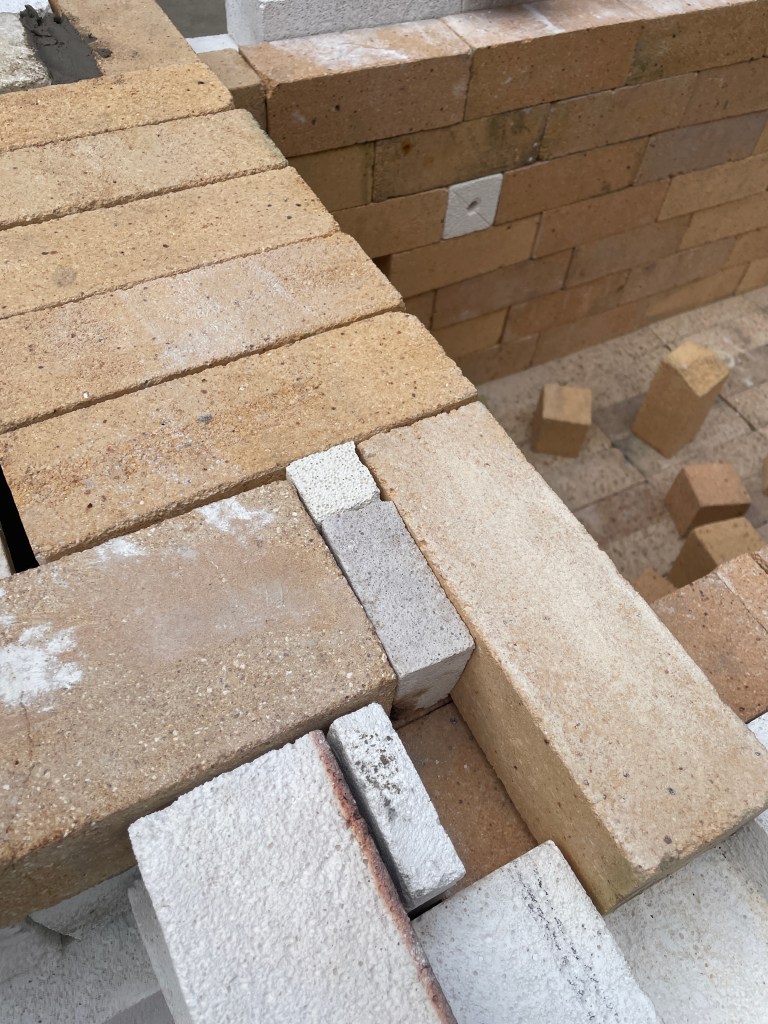
Grange aggregates reclaim and crush refractory materials to make grog, which is then reused in clay bodies etc. It seemed logical that some of the reclaimed materials coming in must be ‘too good to crush’ and so after a phone call I went up the yard and was chatting away to John who was very generous with his time and showed me all he had hiding away amongst the mounds of saggars, kiln pins, props and more that formed great shell like heaps all around us. At the prices he was asking for, all of a sudden a much larger kiln was within budget, and the temptation was too much for me, so it was back to pen and paper to work out some plans. What was going to make this an unusual build, was that the heavy firebricks where a different set of dimensions than I was used to. They measured 3 x 3 x 9 inches, rather than the normal 4.5 x 3 x 9. This made a surprising difference to how they had to be laid, and I wanted to avoid cutting them as much as possible, meaning everything was in multiples of 1/3 and 2/3 or a brick (rather than half and wholes). This became such a mind messer that in the end I just had to start laying it inside the studio and testing some configurations.
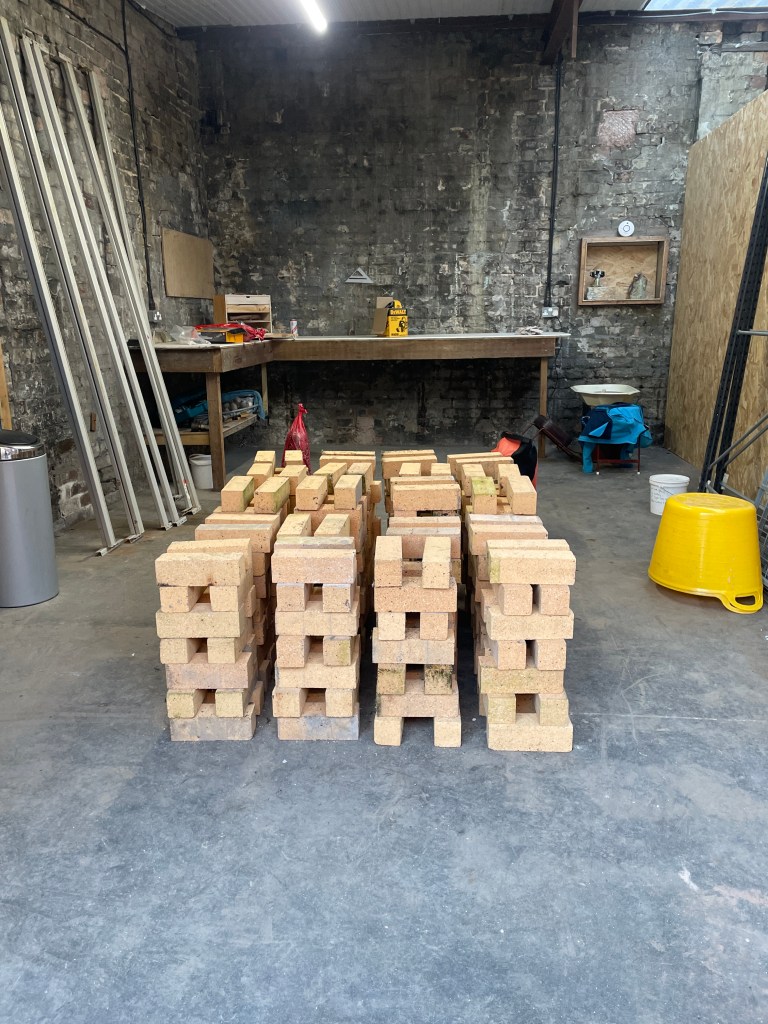
There was another slight issue. The insulating bricks had been sat out in the yard for a very long time, and had previously been mortared. With insulating bricks being so cheap for so long, no one had previously been prepared to sink the work in to them to get them back usable. Now, with the prices so extremely high (and the quality of the newer ones so bad), it seemed worth it for me to take them and dress the bricks – how long could it take anyway? It turns out, a very, very long time.
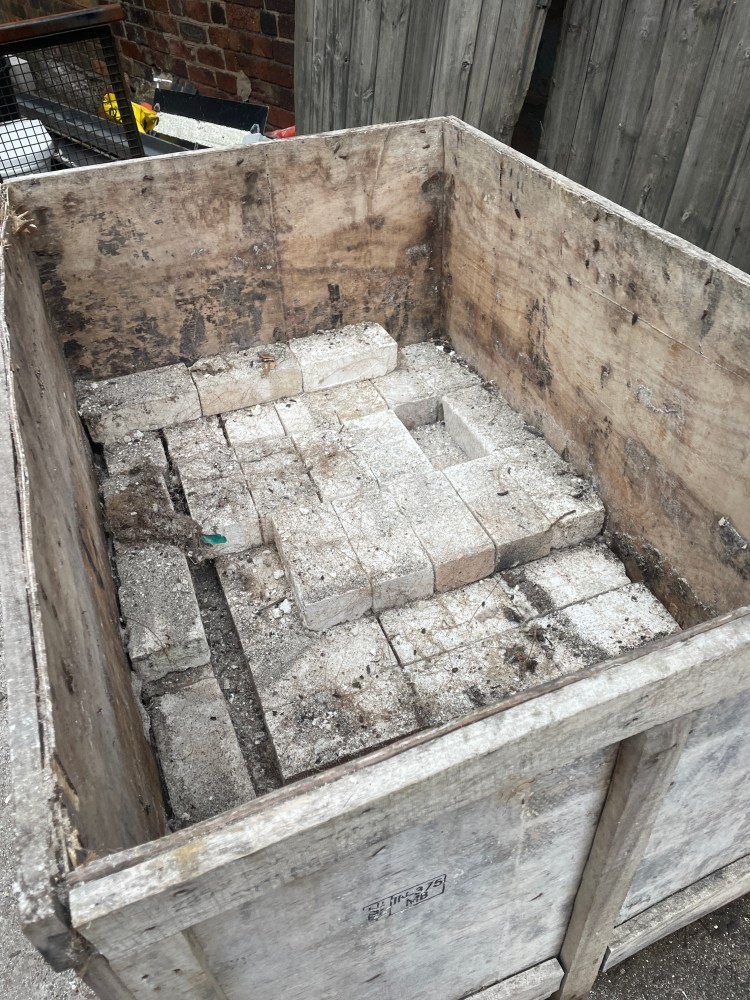
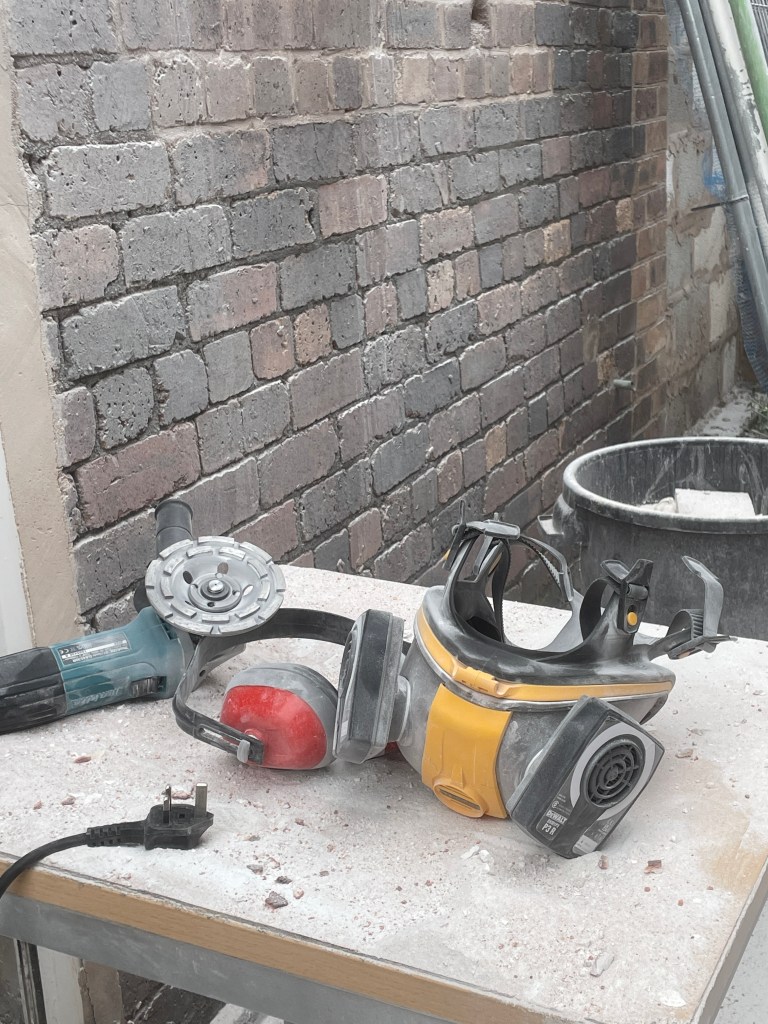
The 26 grade bricks had a thin skin of mortar and it was possible to do these by rubbing them down on a paving slab – and I had a lot of help from people to get through all of those ones. The 28 grade required an angle grinder and a masonry cup burr to clean up, and with 450 to do, it was evening after evening grinding in the dust storm to get them done, much to the displeasure of everyone who has the misfortune of sharing the studio with me!!!
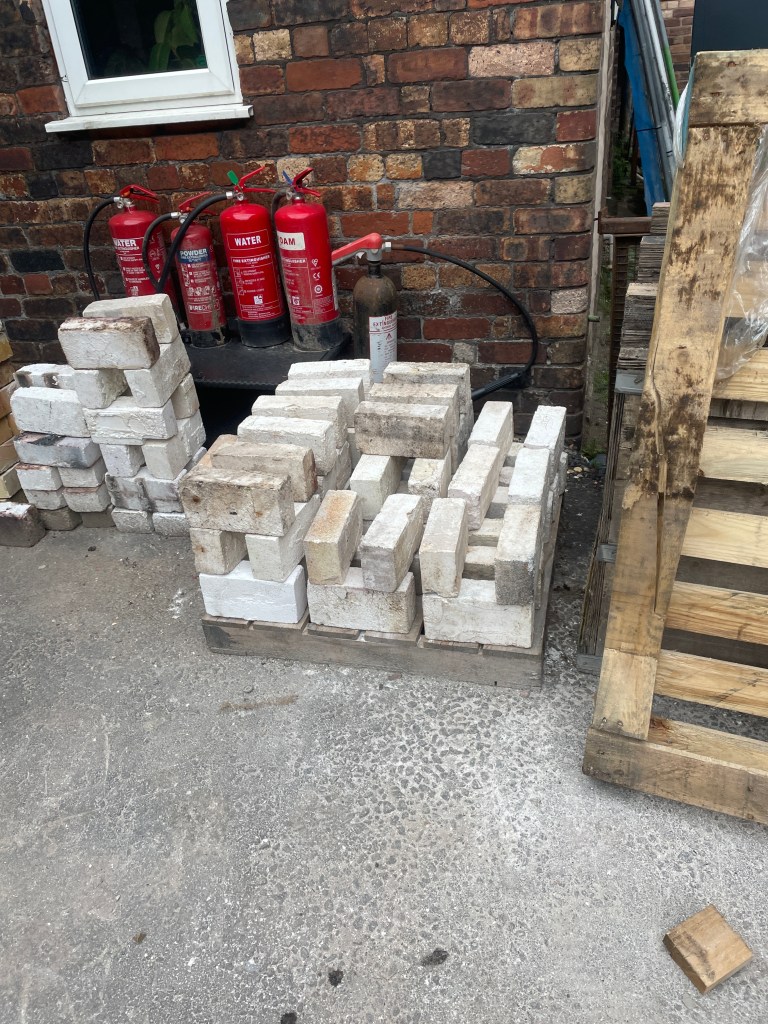
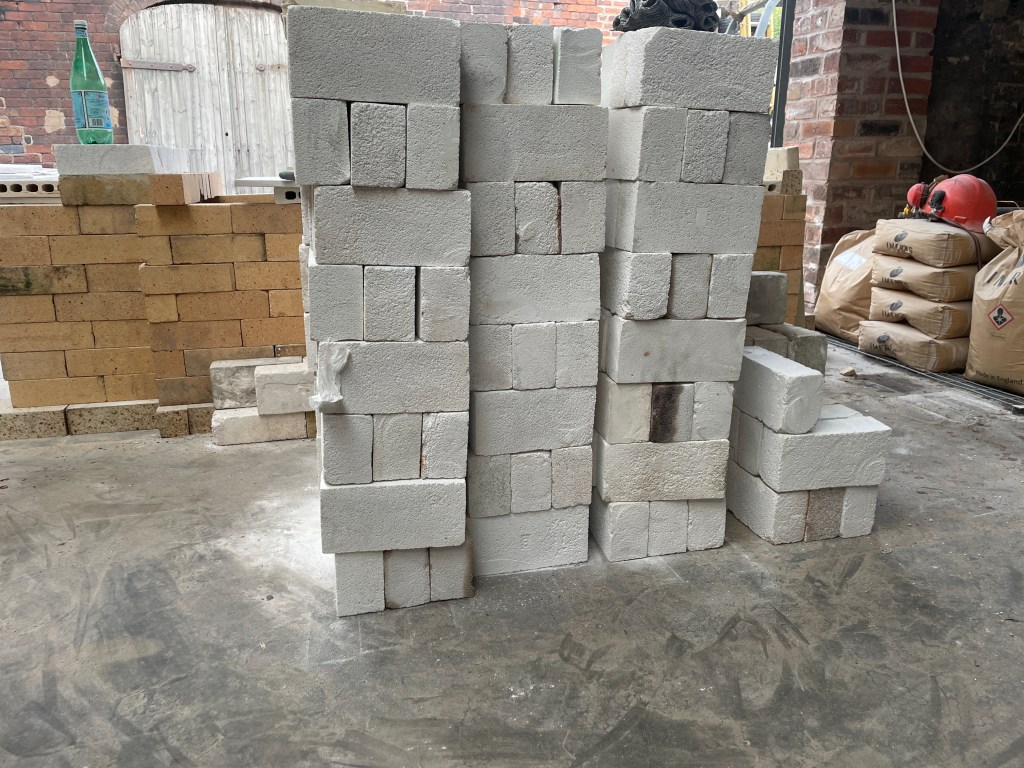
The heavies for the inside were all mostly clean, just needing drying out, which I did in the studio for a few months before putting a burner anywhere near them.
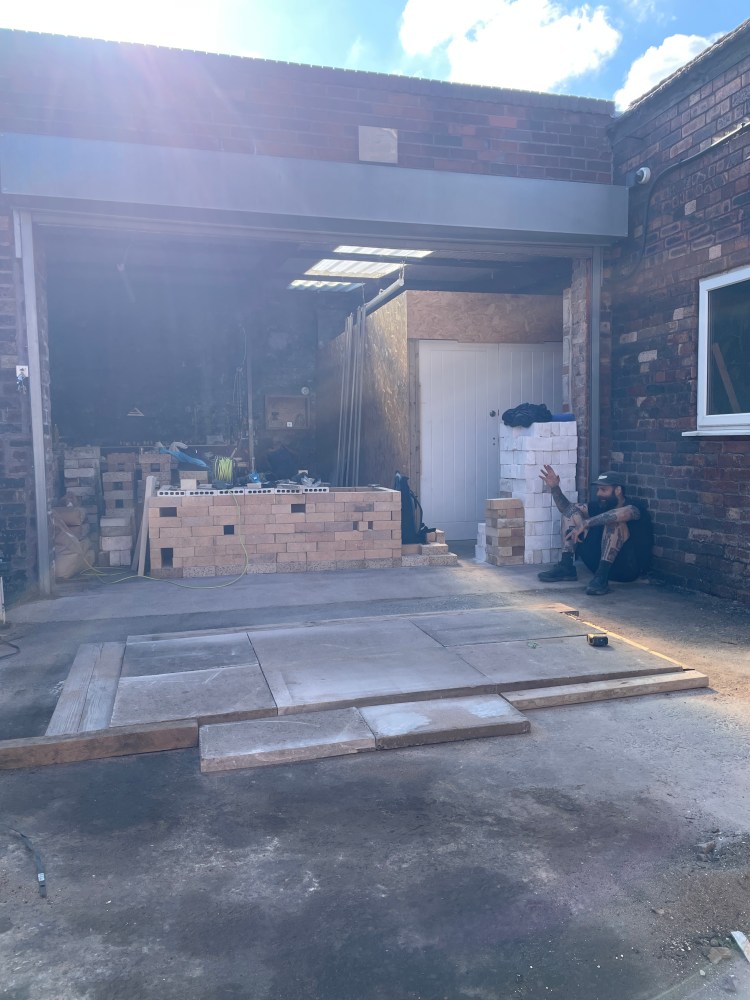
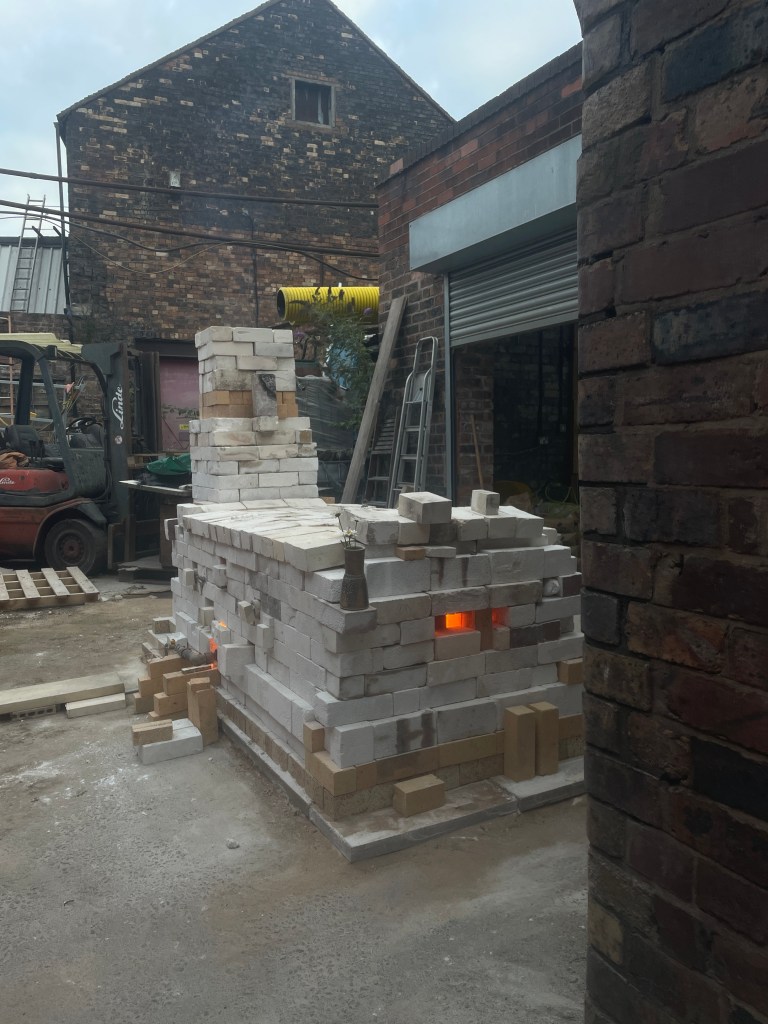
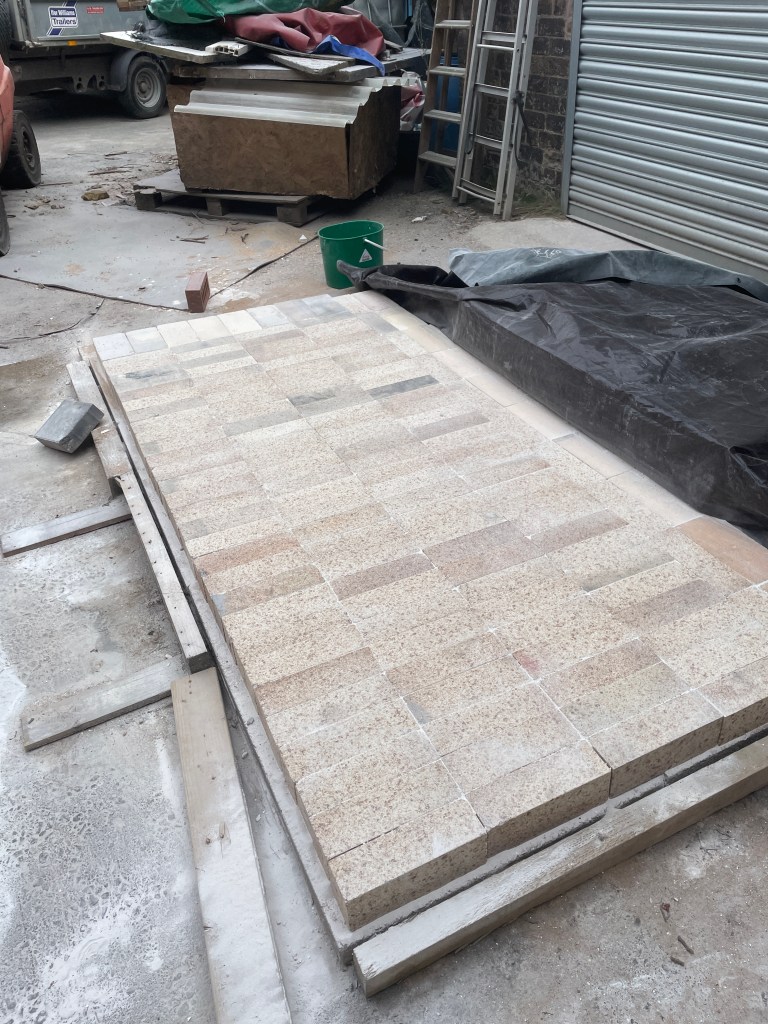
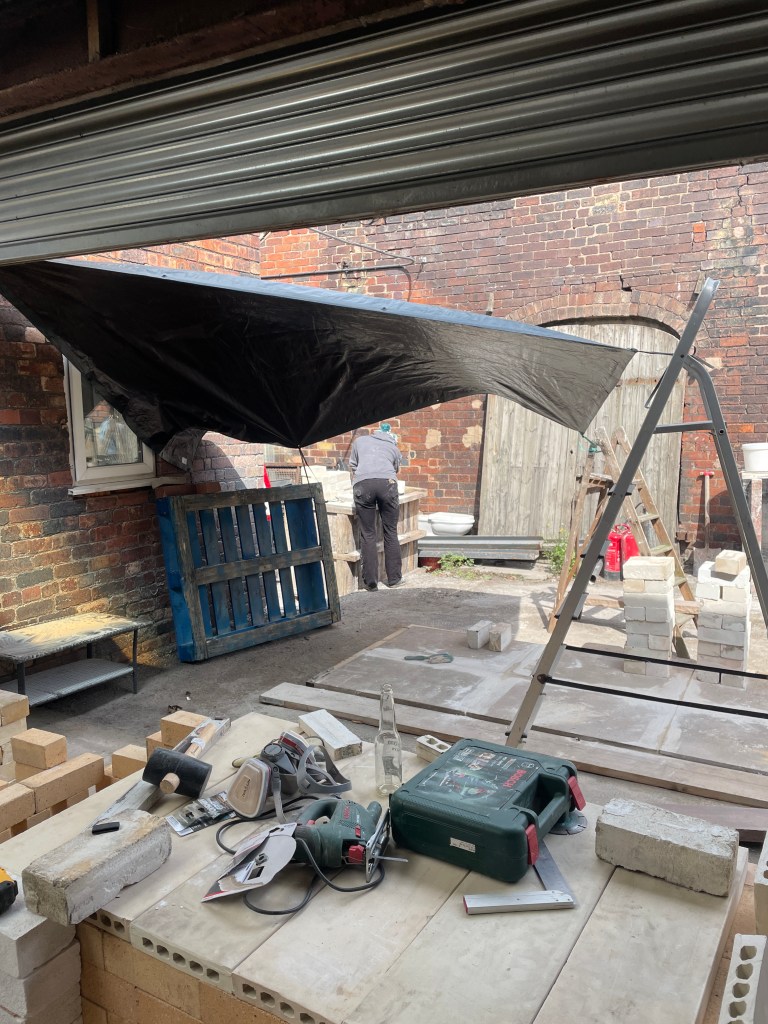
Bricks dressed, kiln plan sort of decided, all I needed was a roof. Because I wanted to avoid metal work, and have had good experiences with flat topped soda kilns, I thought a flat top would be best for this sort of kiln. My budget didn’t quite stretch to bricks and tie rods for the roof, but this is the long term plan, so I needed a semi-temporary solution for the first few firings. For this I went to see my good friend Walter Brayford at Acme Batts. After discussing what I was doing, and him affirming that I was indeed mad, me and my friend Em set about with a tape measure scouting for anything that might be suitable. After a while Walt pointed out these sections of extruded kiln shelf that are used in the sanitary ware industry. He said I would be doing him a favour if I took them, and they seemed like a good choice – if they can take the weight of a bath tub, they’ll take the weight of the top layer of 26 grade bricks, I thought. Sanitary ware, though, is raw fired and the kilns heated very slowly – so I was slightly concerned if the batts would take the thermal shock – and indeed the abrasion from the soda. So this was a high risk choice but one that seemed to make sense at the time. I now had all the refractors I needed to build the kiln.
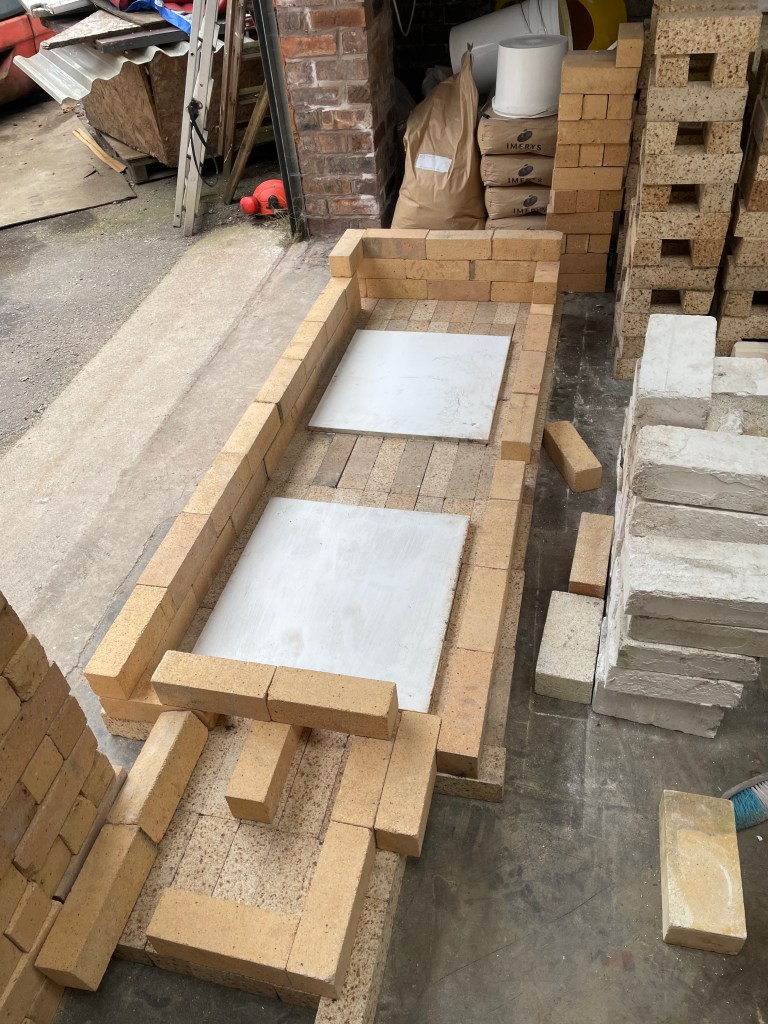
The design itself is an unusual one, and I spoke to a lot of potters about it and had mixed responses. However the overall message was to basically just go for it and see; anything could be tweaked down the line. The reason I built it like I did was because I am interested in the results coming out of wood fired soda train kilns, and so the chamber is inspired by that sort of configuration.
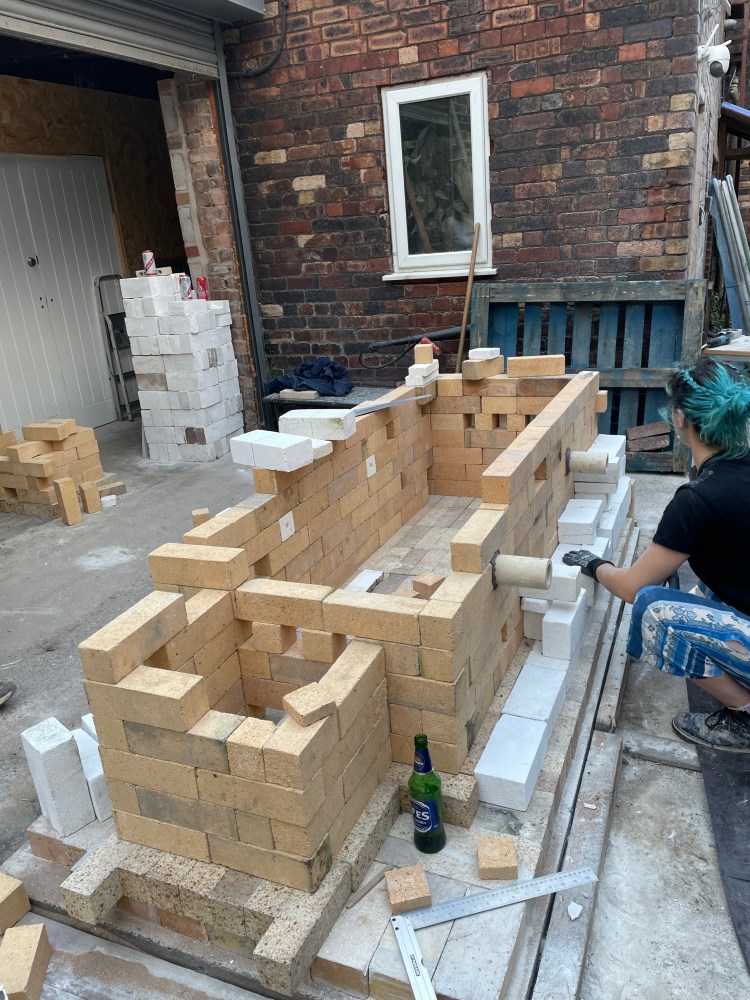
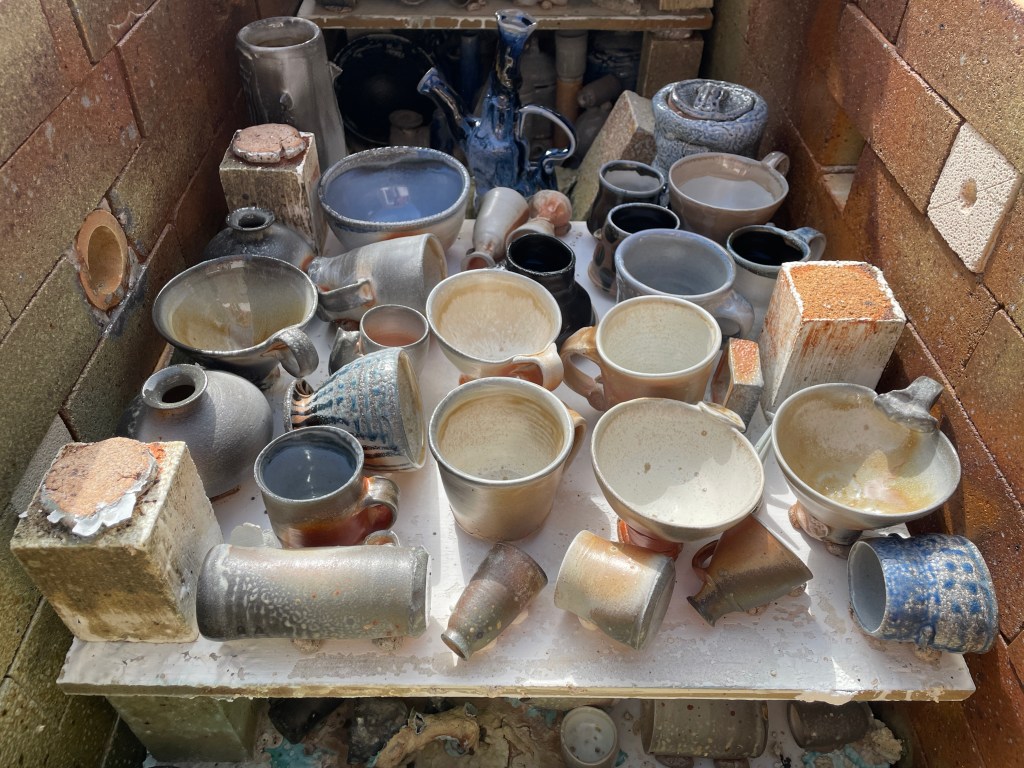
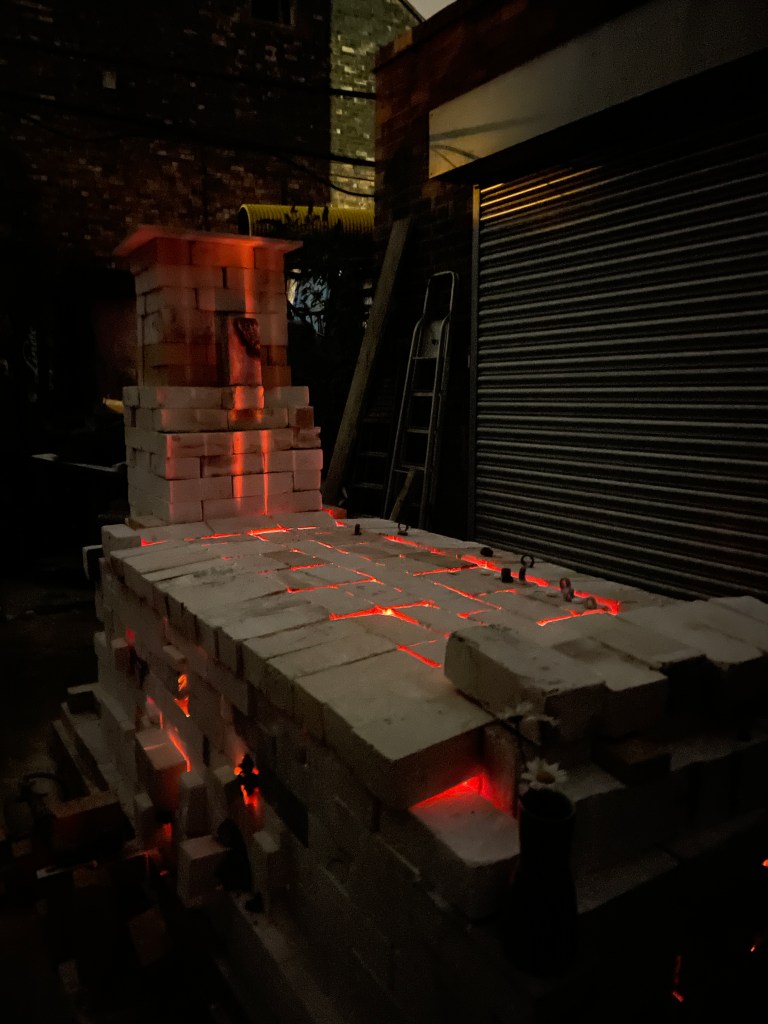
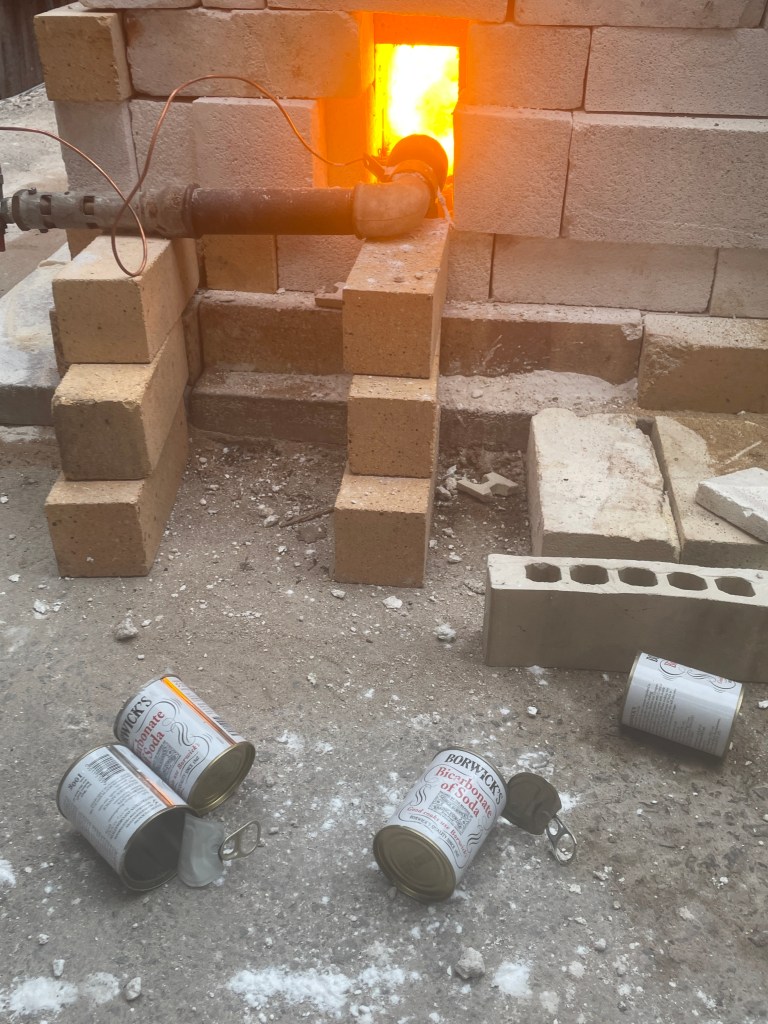
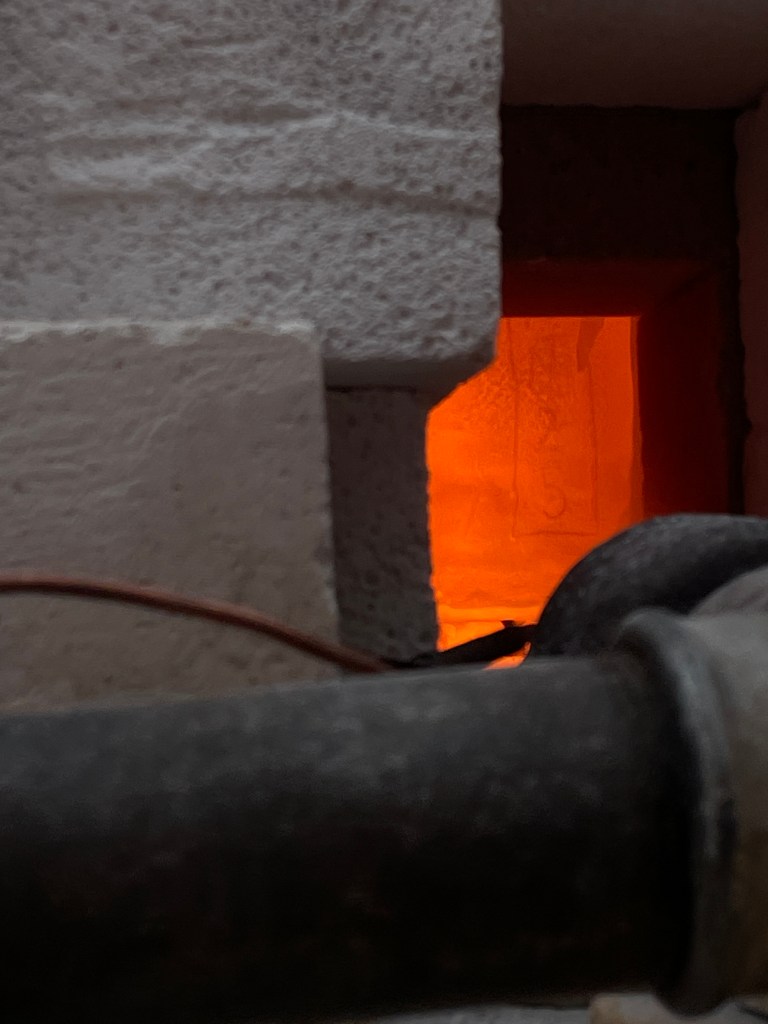
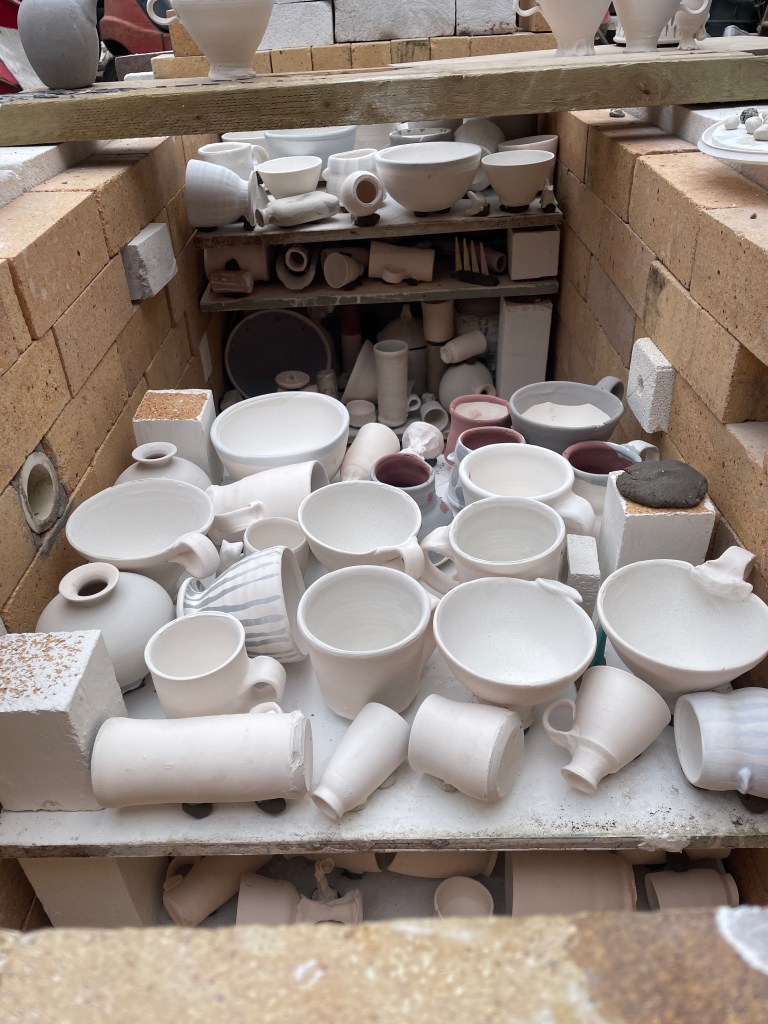
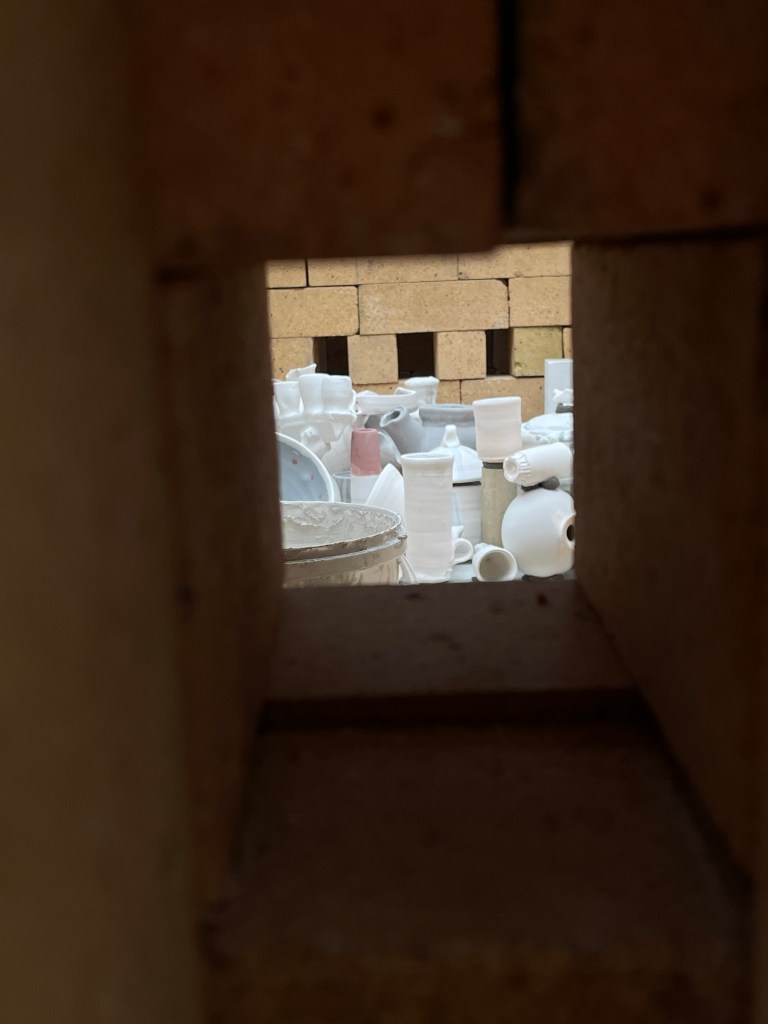
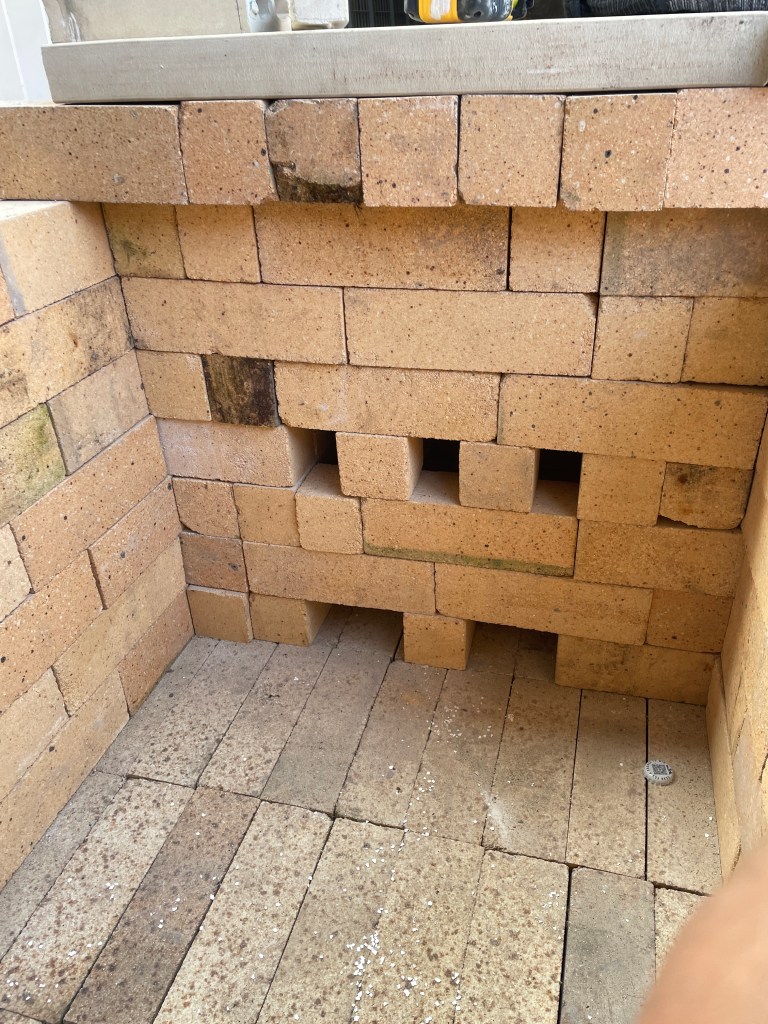
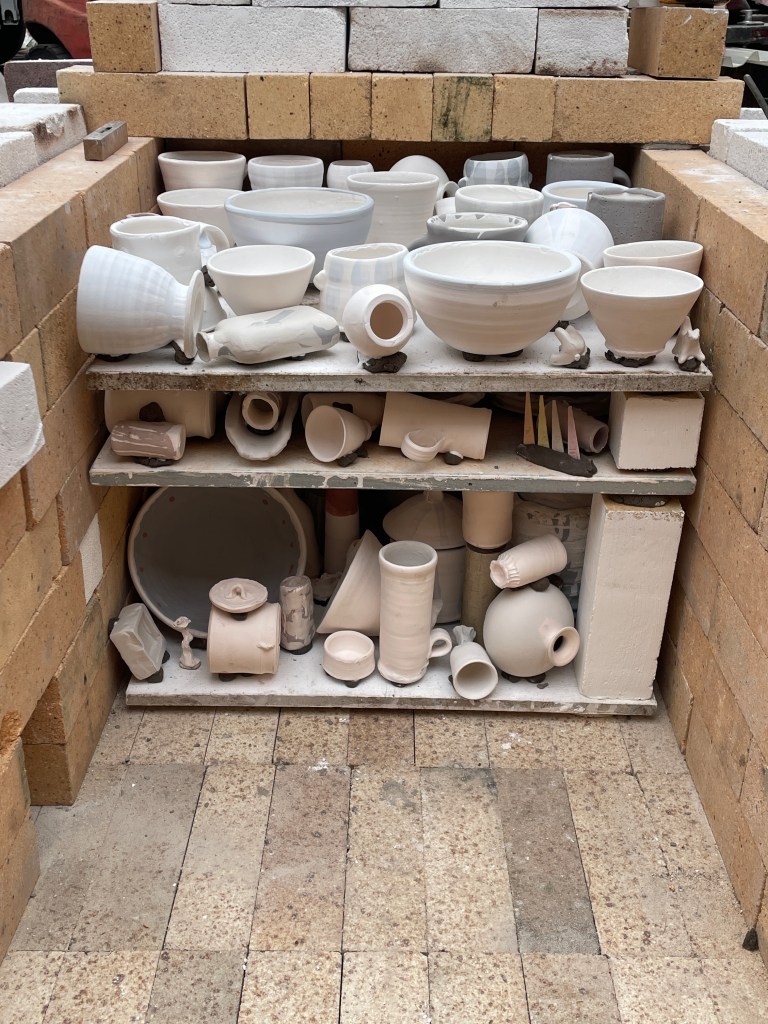
The burner layout is similar to that of Little Wobbler, and also of Gail Nichol’s ‘side stoke’ propane kiln. However, hers being much wider and with a burner on both sides at each ‘side stoke’ point, I am sure her kiln doesn’t run in to the predictable issues that mine would have – namely a temperature differential left to right in the kiln chamber as you look down towards the chimney, which then switches in the middle (ie where the target brick is is hot, where the burner entry port is is cooler). The kiln is basically a cross draft kiln, prioritising soda effects and flame marks over efficiency of heat distribution. The plan is to learn the kiln, and pack to the spots – developing some cone 6 soda bodies for the colder zones. It takes 6-8 batts of 54cm squares, with a channel in the middle for taller pots, so a fairly generous packing space. The burners are on each side with a trough for the soda to be dumped into. I have configured the kiln so that if I need to fire less work, I can put a wall mid way down the kiln and only fire the back half – that will facilitate quicker learning and mean I can carry on testing my clay bodies. When firing the whole kiln, I am sharing the space with other makers with heavier soda at the front than at the back – meaning there is lots of capacity to experiment and discover more groovy soda effects than I could on my own.

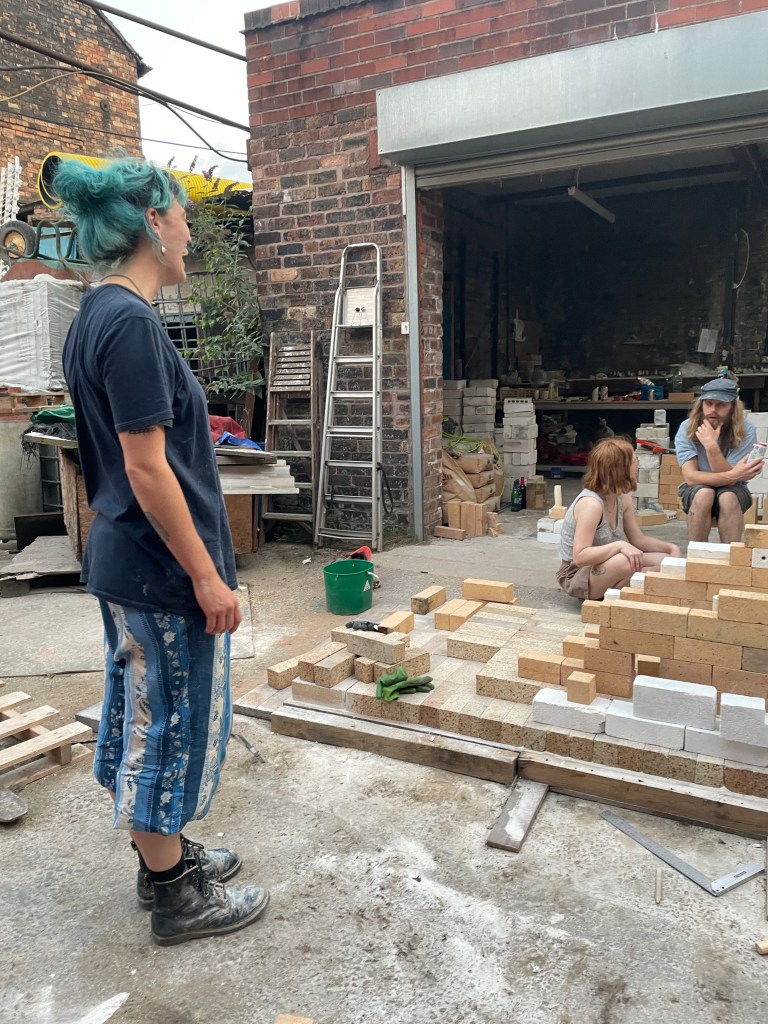
It has taken a huge amount of work and lots of late nights to get here – I work 9-5 at college and so have been grabbing time evening and weekends to get everything dressed and to do the build (and to make the clay bodies and pots!). So many people have been involved and even at the risk of forgetting someone (for which I am very sorry if I do!!!) I would like to just say a thank you to Ben, Sabine, Kevin and Brian for advice on the design, to John and Walter for sorting me out with the bricks and refractories, to Rich and Dawn for facilitating this crazy idea, and to Em for being such a consistent and reliable source of help and support, and to Rosie, Jacob, Quay, Jess, Livvy, Pascal, Eva, Danny, Seetal too.
Let’s see what comes as I get to know the kiln, the surfaces, and keep exploring the joys of soda fired pottery!!!!!
